
Setup guide
Set up PanicDoc in an afternoon.
Fifteen short sections take you from a fresh install to a vault your family could rely on tonight. Every screen is shown, so you always know what you are looking at. Nothing here leaves your phone.
Section 1
Before you start
PanicDoc keeps your family's emergency documents on your iPhone, locked with a key that never leaves it. Setup takes about half an hour if you gather a few things first.
-
Check your phone
PanicDoc runs on iPhone and iPad with iOS 18 or later. Turn on Face ID or a passcode in Settings if you have not already, because that is what opens the vault. There is no PanicDoc password to remember.
-
Gather what you can
You can add everything later, but setup goes fastest with these within reach:
- Your medications, allergies and conditions, and your doctor's number
- Who to call first, and who can make medical decisions for you
- Your driver's license or passport, and your health insurance card
- A list of your bank, card and utility accounts
- Where your will or power of attorney is kept, and your attorney's number
- A family safe word nobody outside the family would guess
Section 2
Create your vault
The first time you open PanicDoc you name yourself and your vault. That creates the key everything else is locked with.
-
Open PanicDoc
The welcome screen explains the one rule that matters: your documents stay on this phone, locked with a key only you hold.
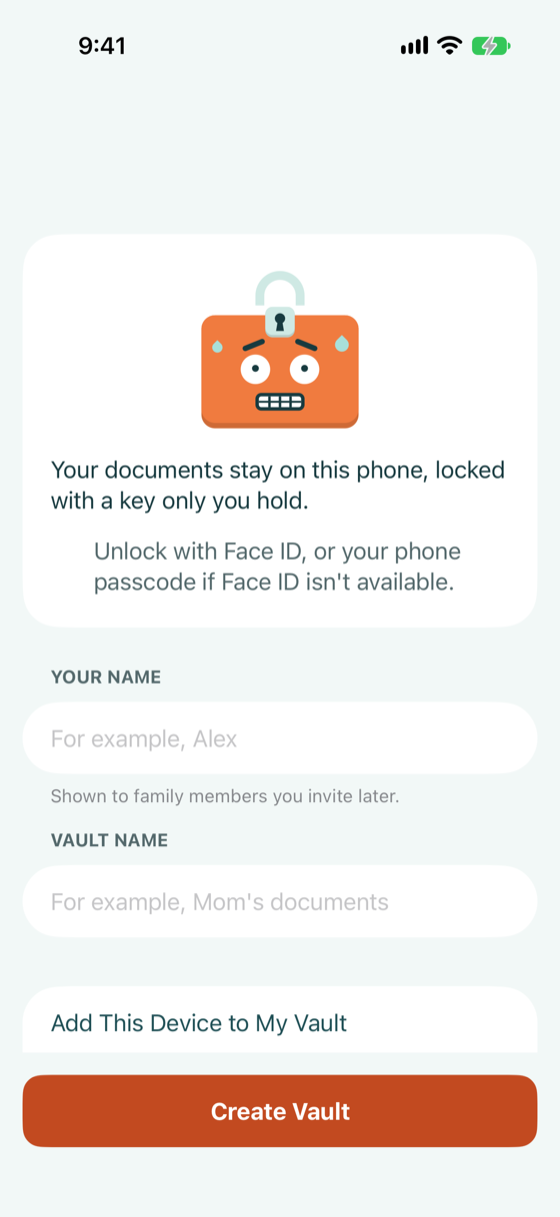
The welcome screen -
Enter your name and a vault name
Your name is what family members will see if you invite them later. Name the vault something plain, like Mom’s documents.
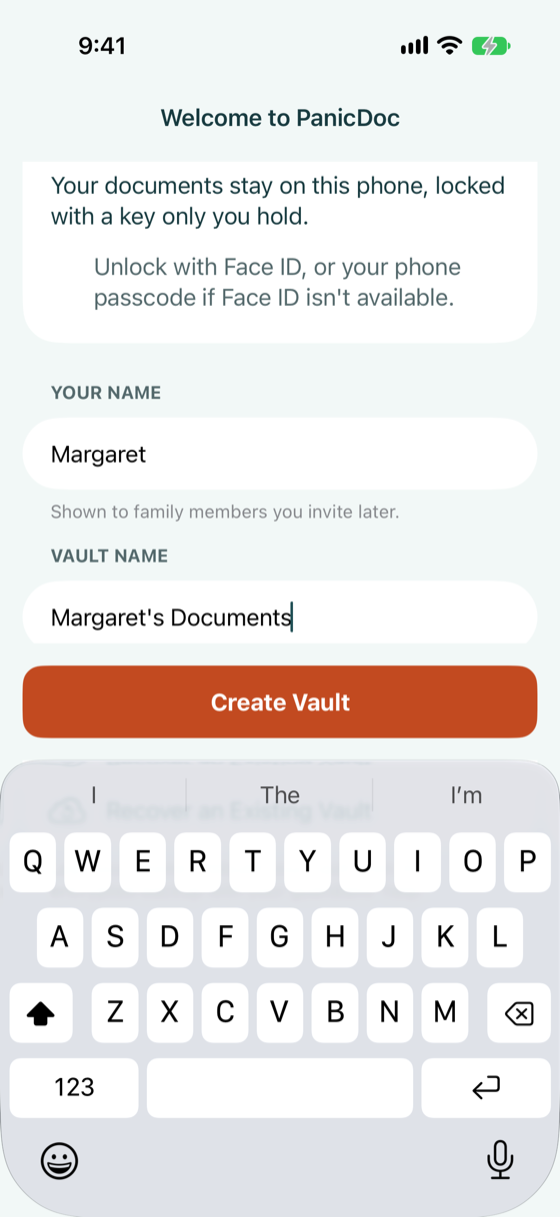
Both fields filled in -
Tap Create Vault
PanicDoc creates the vault and opens it. You land on the home screen, which lists your vault, the sharing features, and your plan.
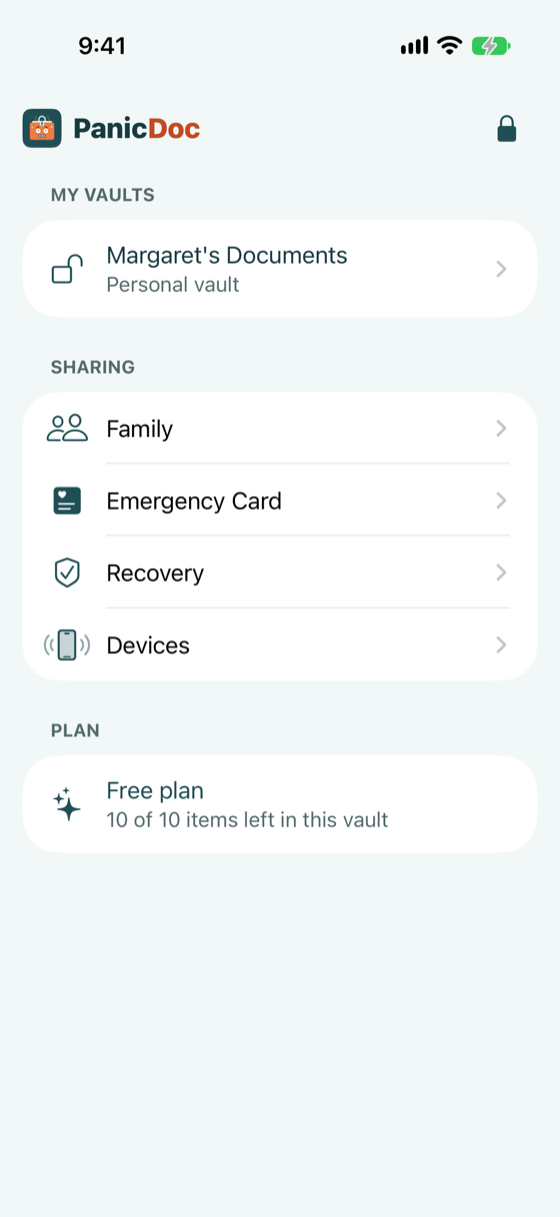
Home, right after setup
Section 3
Lock and unlock
The vault locks itself whenever you leave the app. Face ID opens it again.
-
Lock the vault
Tap the lock icon at the top right of the home screen. PanicDoc also locks on its own when you switch apps or the screen turns off.
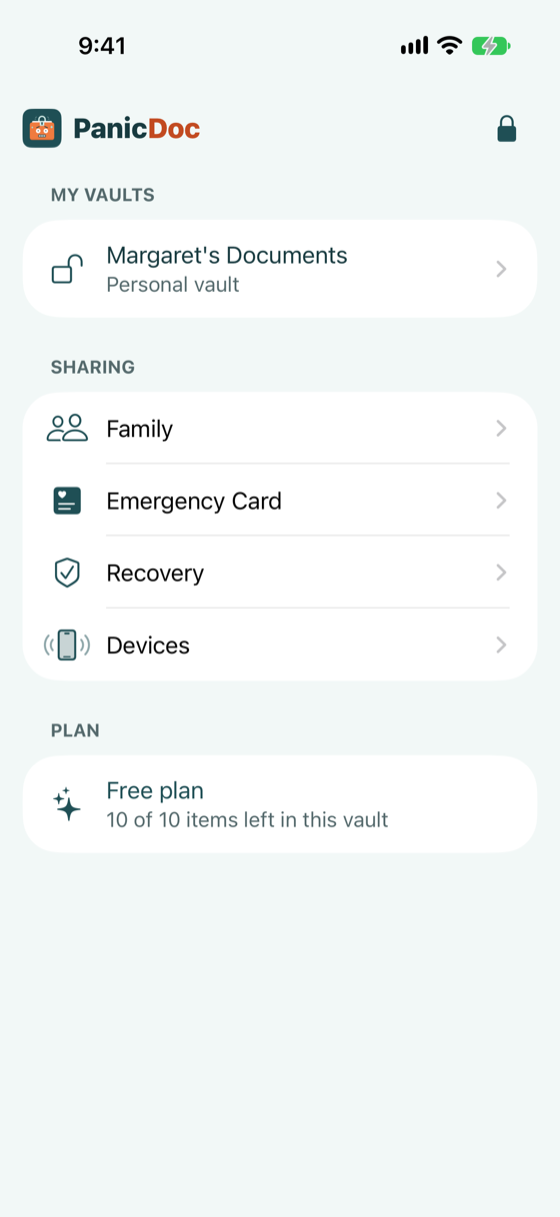
The lock icon, top right -
Unlock with Face ID
When the vault is locked you see this screen. PanicDoc asks for Face ID as soon as it opens. If you dismissed that prompt, tap Unlock to try again. Your phone passcode works too.
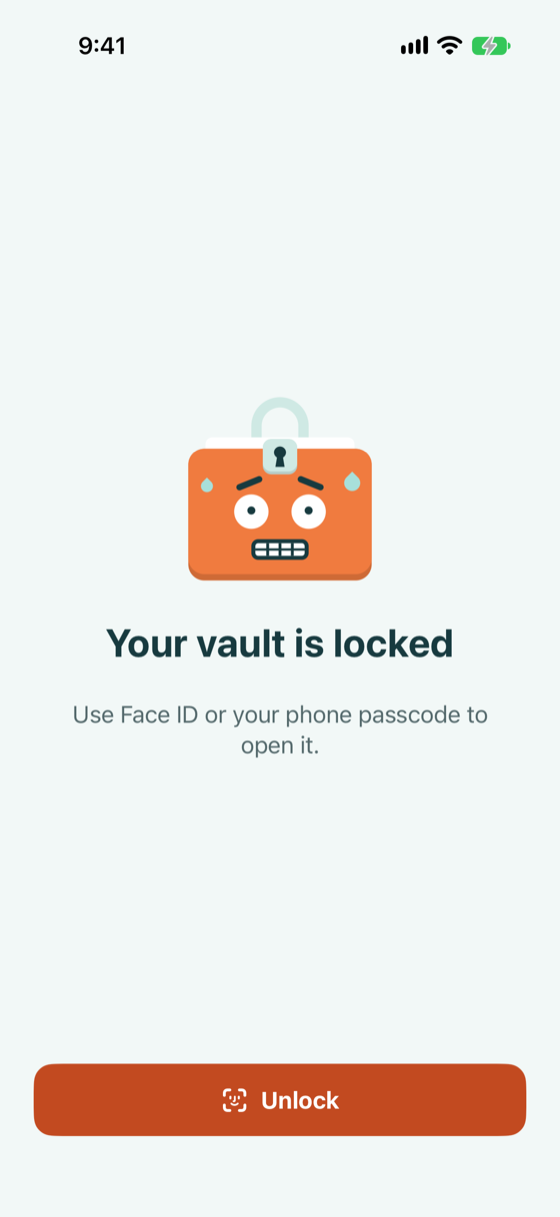
The locked screen 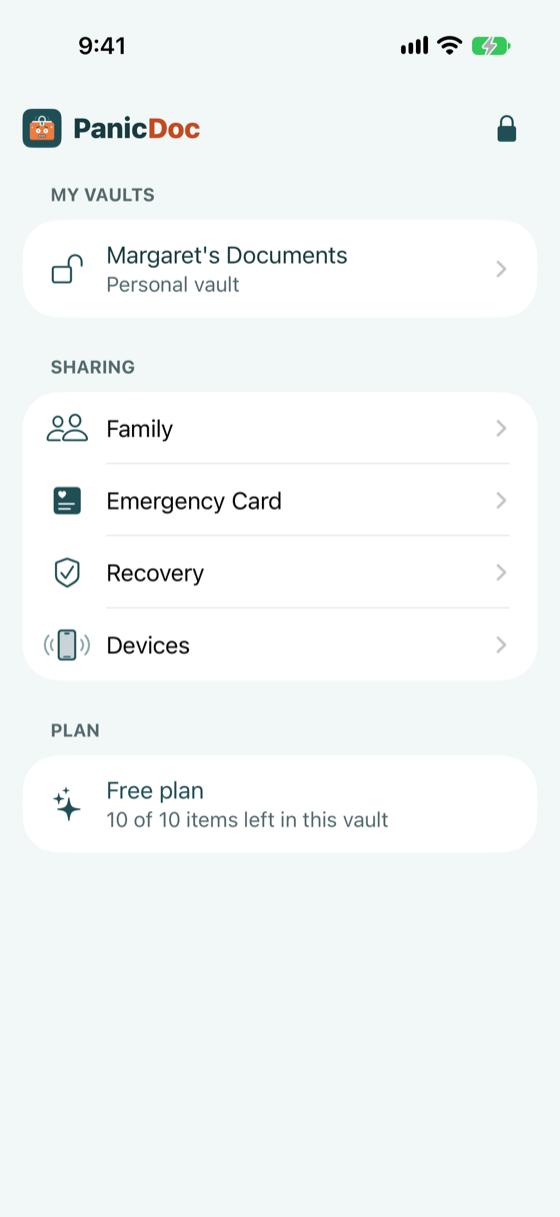
Back on the home screen
Section 4
Add your first document
Start with a photo ID. It shows you the pattern every other document follows: pick a category, fill in a few fields, decide whether it goes on your Emergency Card, save.
-
Open your vault
Tap your vault on the home screen. A new vault is empty, with a single button to add the first item.
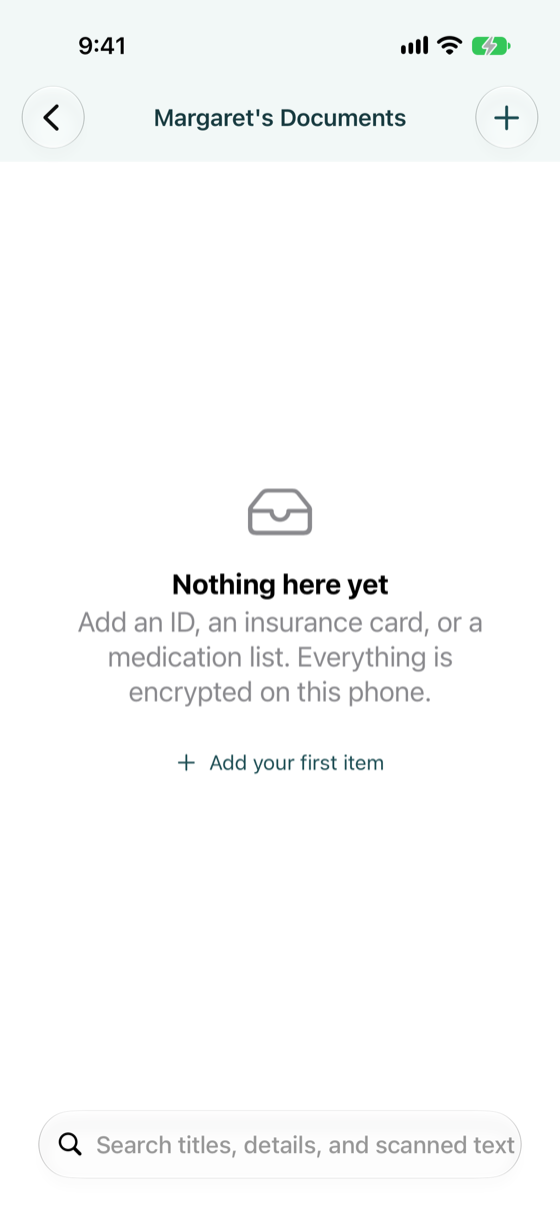
An empty vault -
Tap Add your first item
The menu offers two ways in. Choose a Photo (or Scan a Document on a phone with a camera) reads the document on your phone and files it for you. Or pick a category under Or Add by Hand.
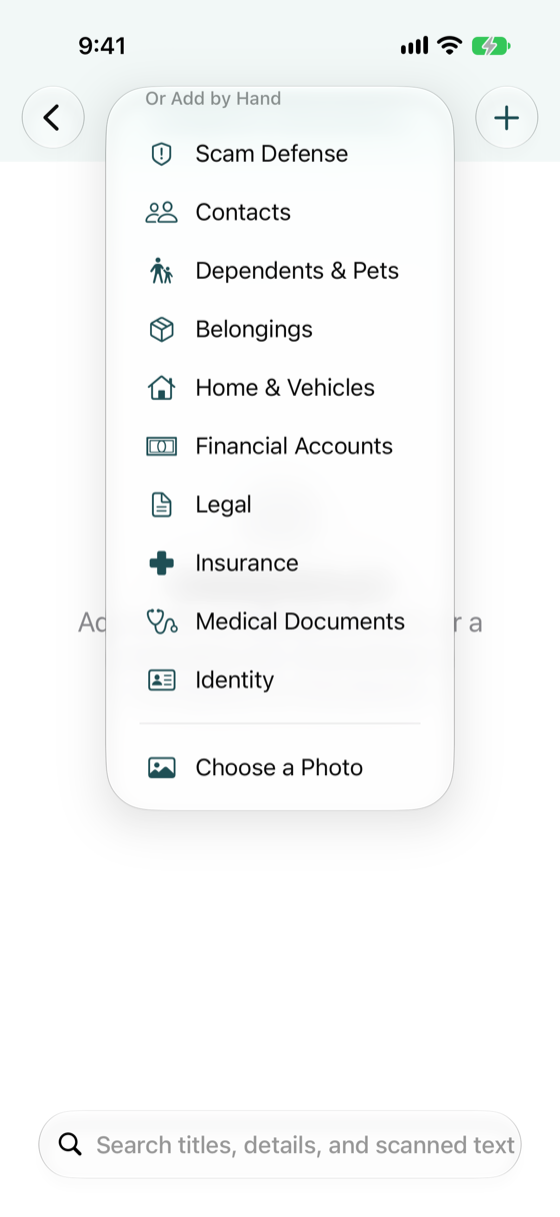
The add menu -
Choose Identity
A blank form opens with the fields that matter for an ID: document number, who issued it, and the name on it.
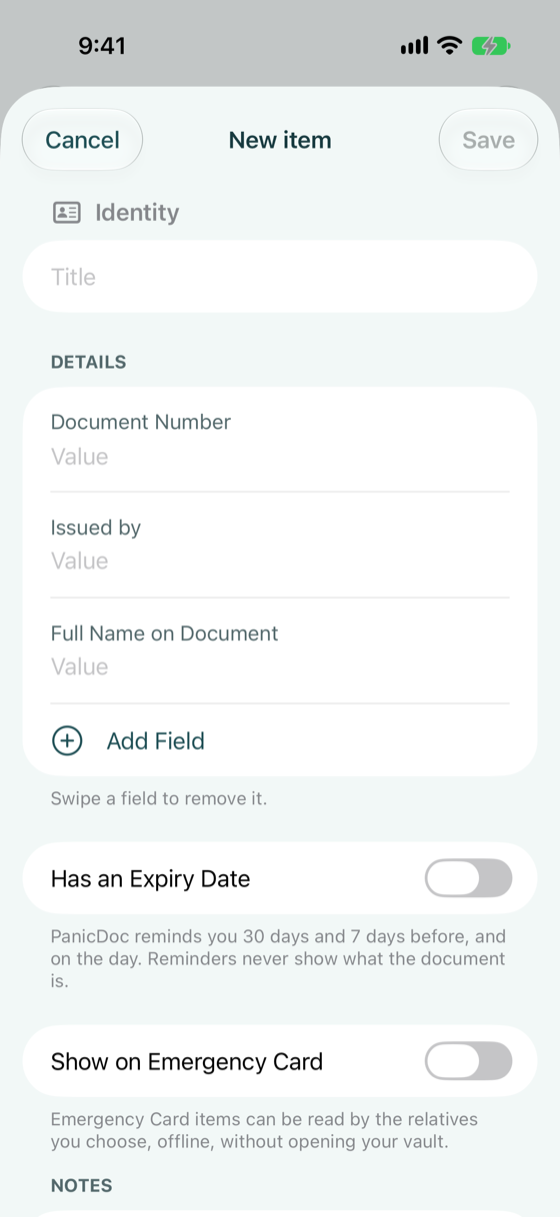
A new Identity item -
Fill in the details
Give it a title such as Driver’s License and fill in the fields you know. Turn on Has an Expiry Date and set the date: PanicDoc reminds you 30 days and 7 days before it expires, and on the day. Reminders never say what the document is.
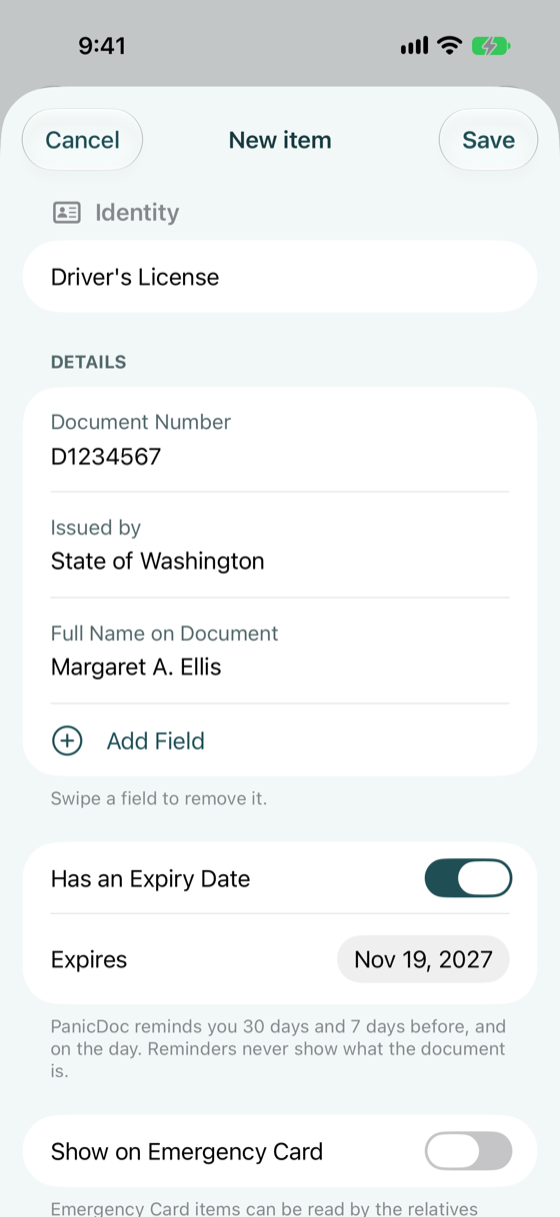
Details and expiry date filled in -
Decide whether it goes on your Emergency Card
Turn on Show on Emergency Card if a relative should be able to see this item in an emergency without opening your whole vault. An ID and an insurance card usually belong there.
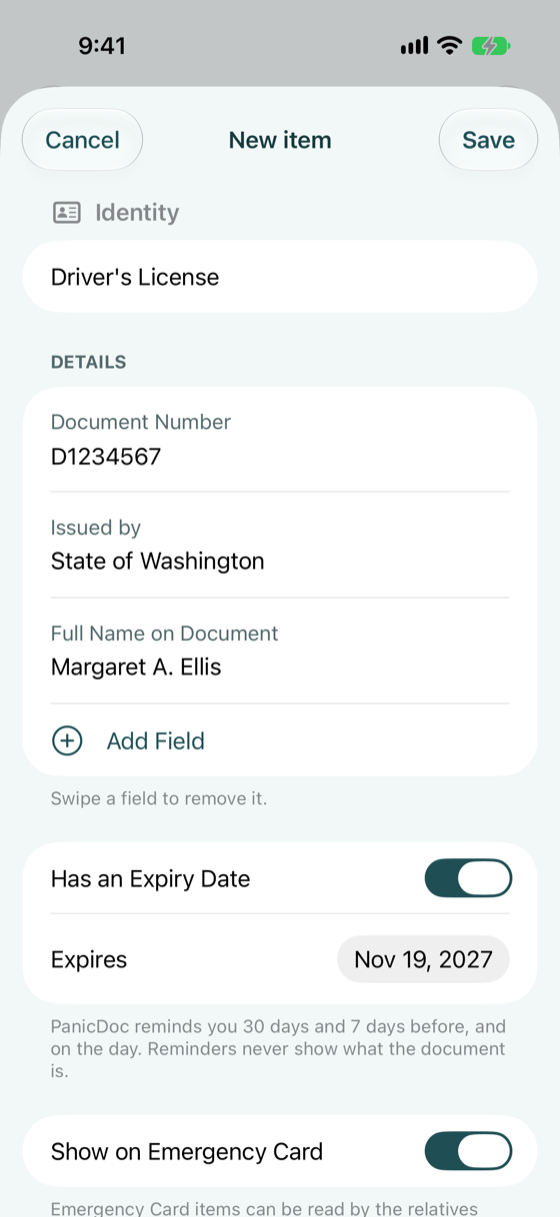
Emergency Card switch on -
Tap Save
Your ID is listed under Identity, and a Setup Checklist card appears at the top of the vault to guide the rest of setup.
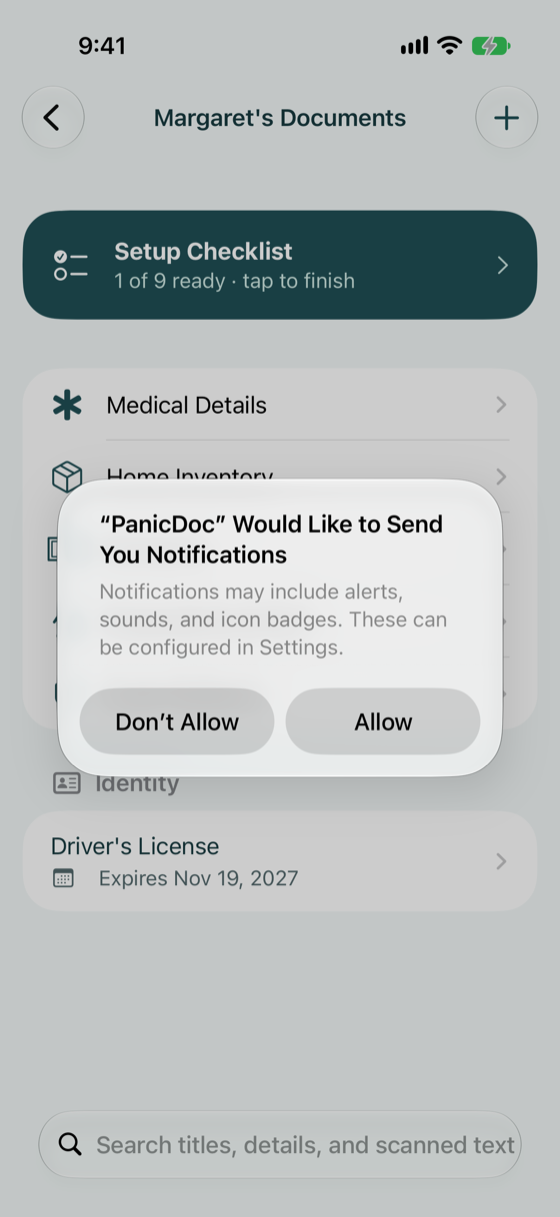
The vault with one item
Section 5
Use the Setup Checklist
The checklist is the fastest way through setup. It lists the nine things every family should have ready, and ticks each one off as you add it.
-
Tap Setup Checklist
Each row says what it is and why it matters. Tap any row to add that item. The rest of this guide walks the rows in order:
- Medical Details
- Emergency Contacts
- Advance Directive & Proxy
- Photo ID (done, if you followed section 4)
- Health Insurance
- Accounts
- Will or Estate Papers
- Home Inventory
- Family Safe Word
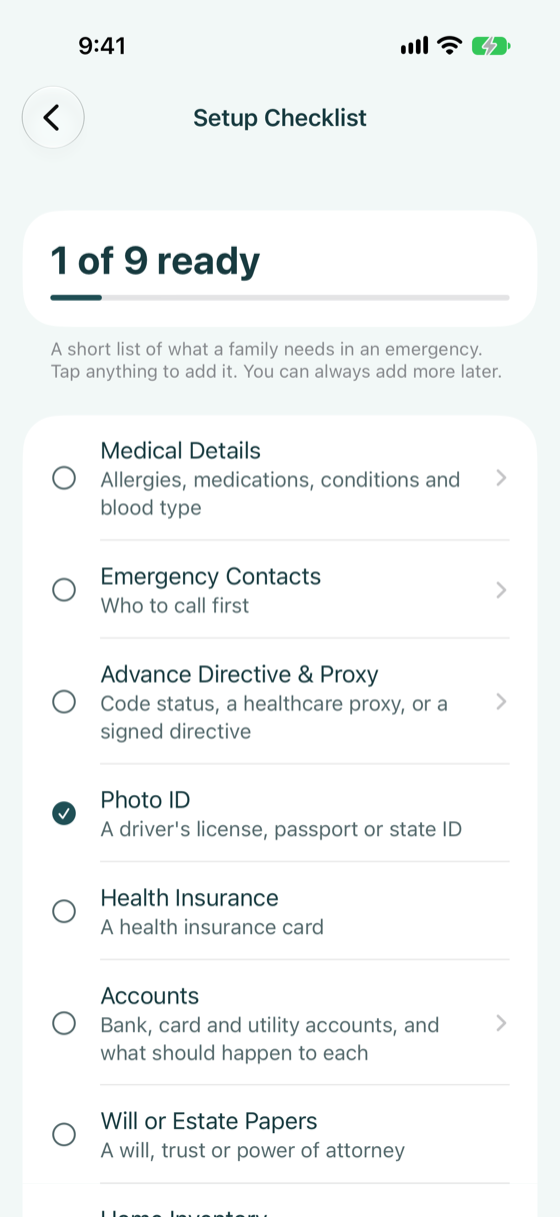
One of nine ready
Section 6
Fill in Medical Details
This is the record a paramedic or ER nurse needs first. It also powers your Emergency Card and Emergency Mode, so it is worth doing carefully.
-
Tap Medical Details
The form opens empty. It is long, but every section is optional. Fill in what you know now and come back for the rest.
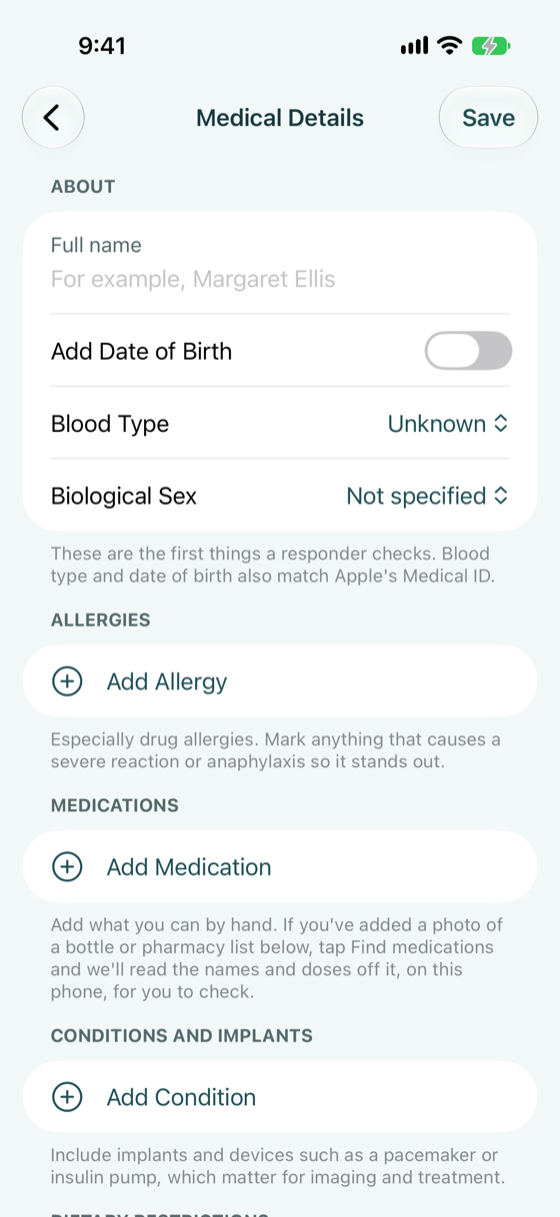
The empty medical form -
About you
Enter your full name and choose your blood type and biological sex. Turn on Add Date of Birth to add it. These match the fields in Apple's Medical ID, so you can copy from one to the other.
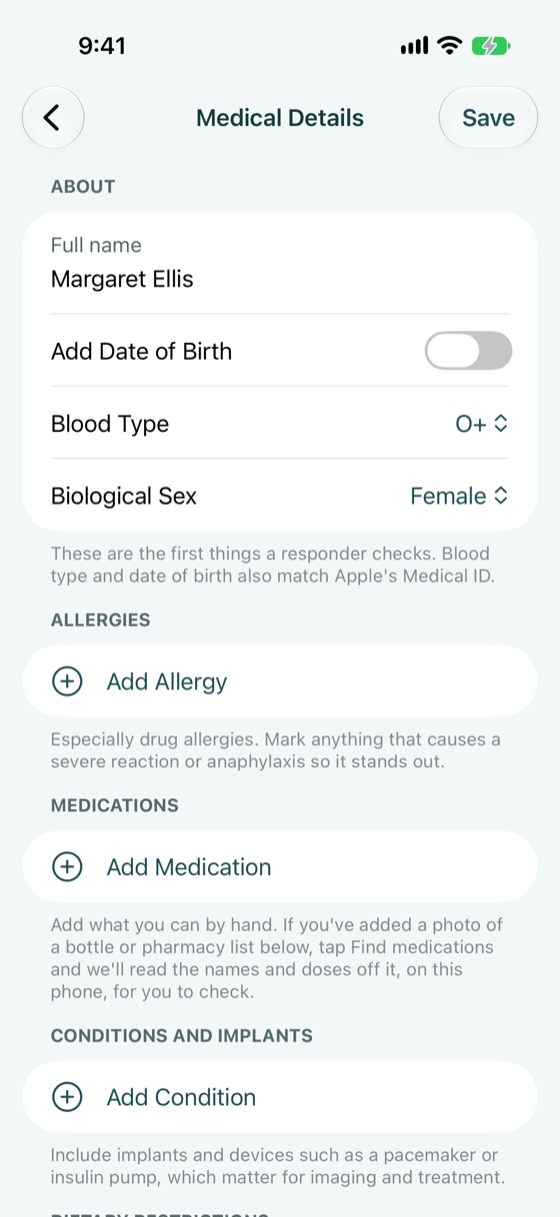
Name, blood type and sex -
Allergies
Tap Add Allergy, then enter the allergy, the reaction, and how severe it is. Mark anything that causes a severe reaction or anaphylaxis: those are shown in red in Emergency Mode.
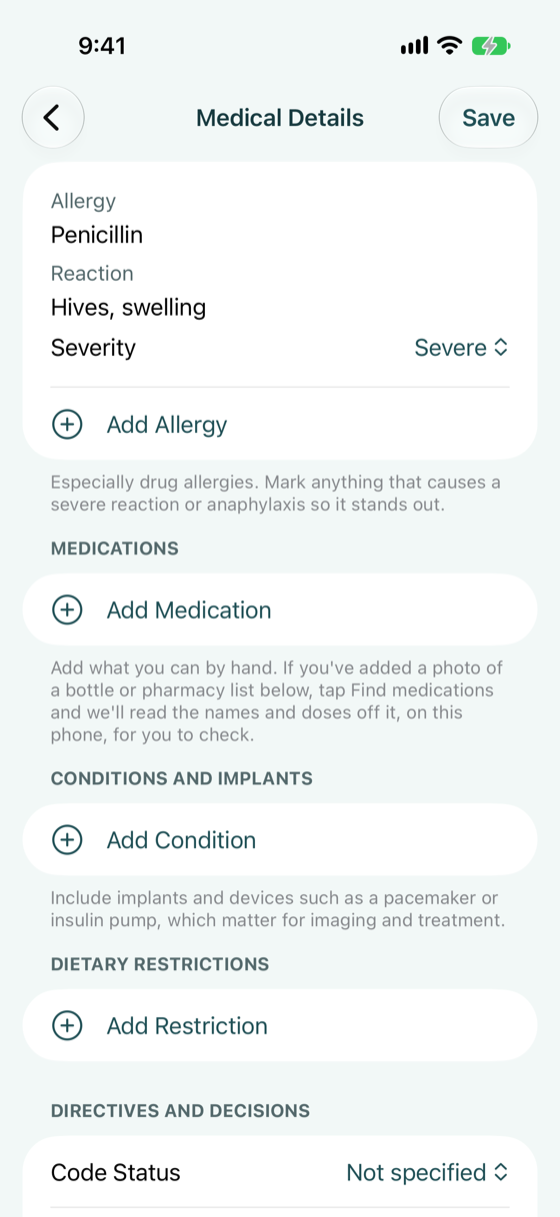
A penicillin allergy, marked severe -
Medications
Tap Add Medication and enter the name, dose, how often you take it, and what it is for. Add a photo attaches a picture of the bottle to that medication. If you add photos of bottles or a pharmacy list, Find Medications in Photos reads the names and doses off them, on your phone, for you to check.
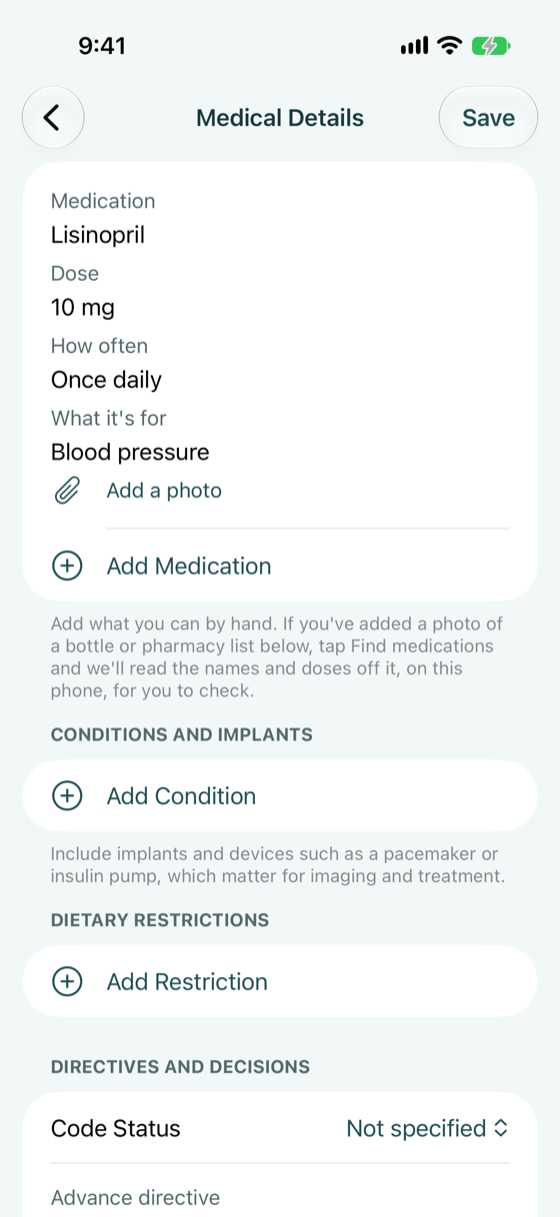
One medication entered -
Conditions and implants
Tap Add Condition for each condition. Include devices such as a pacemaker or insulin pump, which matter for imaging and treatment.
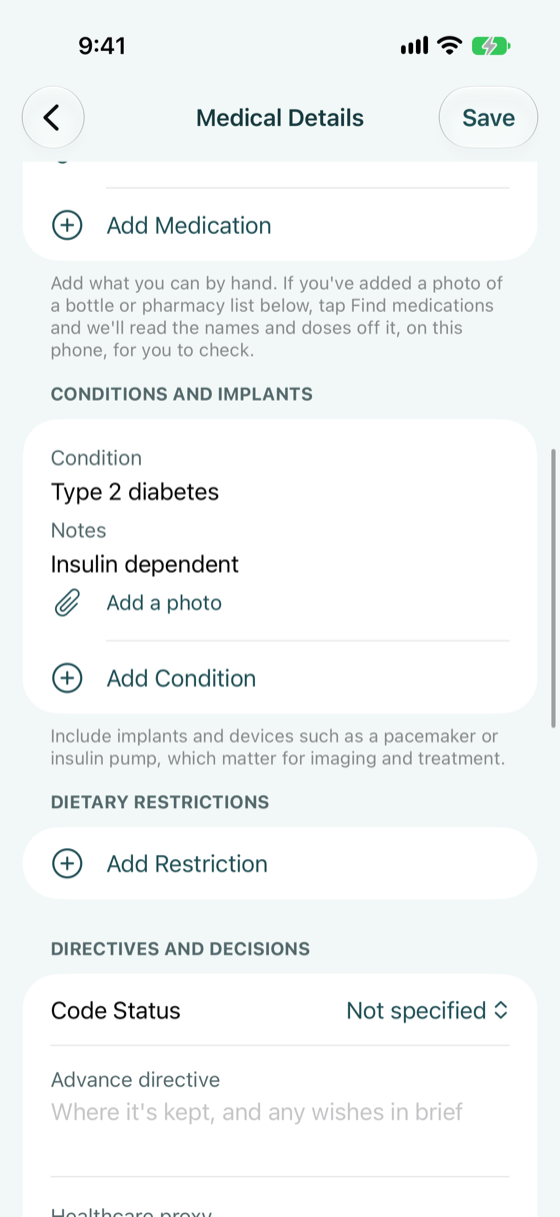
A condition with a note -
Directives and decisions
Set your Code Status, note where your advance directive is kept, and name your healthcare proxy with their relationship and phone. Attach the signed document adds a scan or photo of your DNR, POLST or directive. Your code status and proxy travel on the Emergency Card; the signed document stays on your phone.
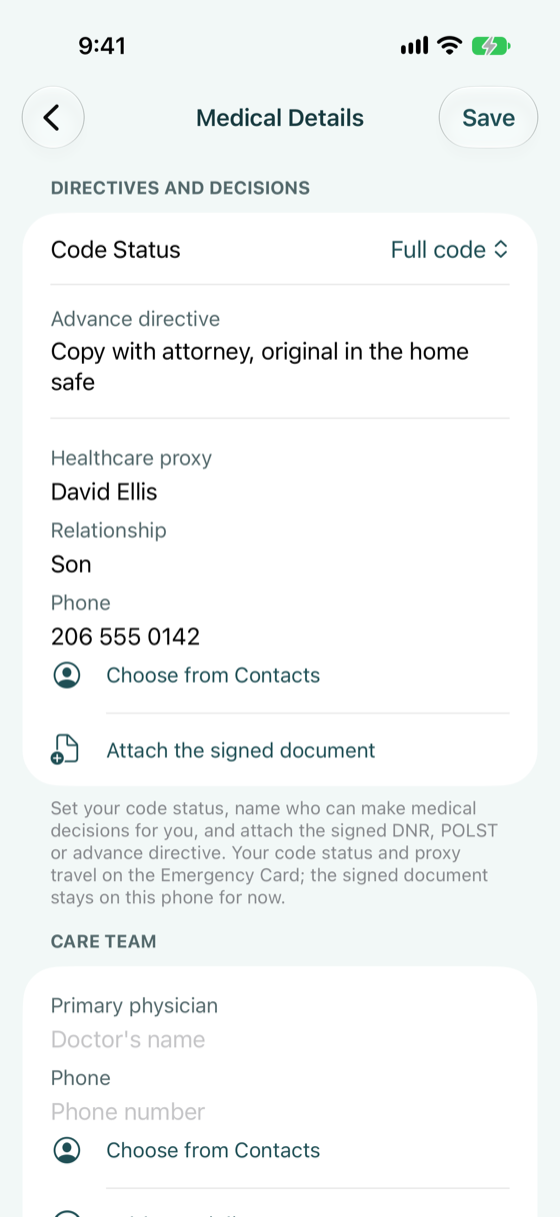
Code status and healthcare proxy -
Care team
Enter your primary physician and their phone. Add Specialist adds each specialist and the condition they treat. Choose from Contacts fills a row from your address book, and Business Card Photo reads a doctor's card for you to check.
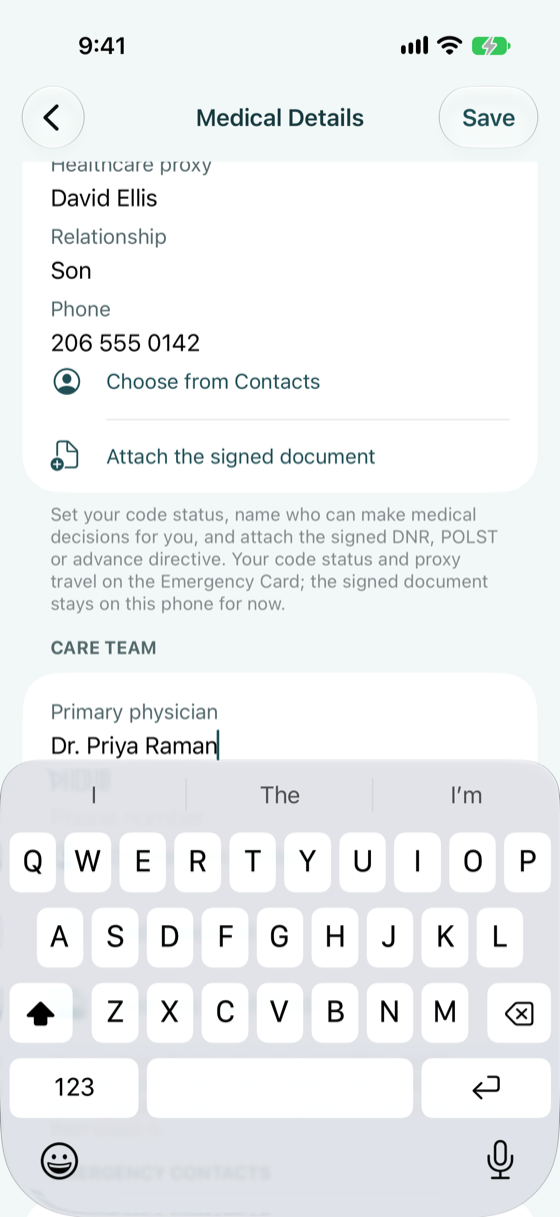
Primary physician entered -
Emergency contacts
Tap Add Contact and enter who should be called first, with their relationship and phone. Choose from Contacts fills the name and number. These are shown large and tap-to-call in Emergency Mode.
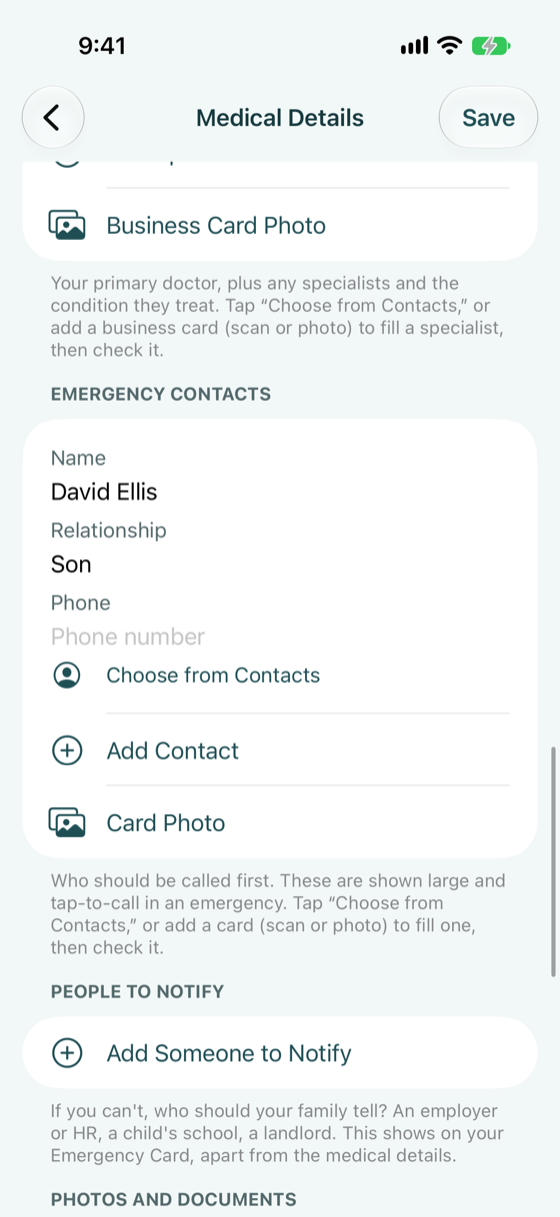
An emergency contact -
People to notify
Tap Add Someone to Notify for anyone your family should tell if you are incapacitated: an employer or HR, a child's school, a landlord. Add a short note of what to tell them. This shows on your Emergency Card, apart from the medical details.
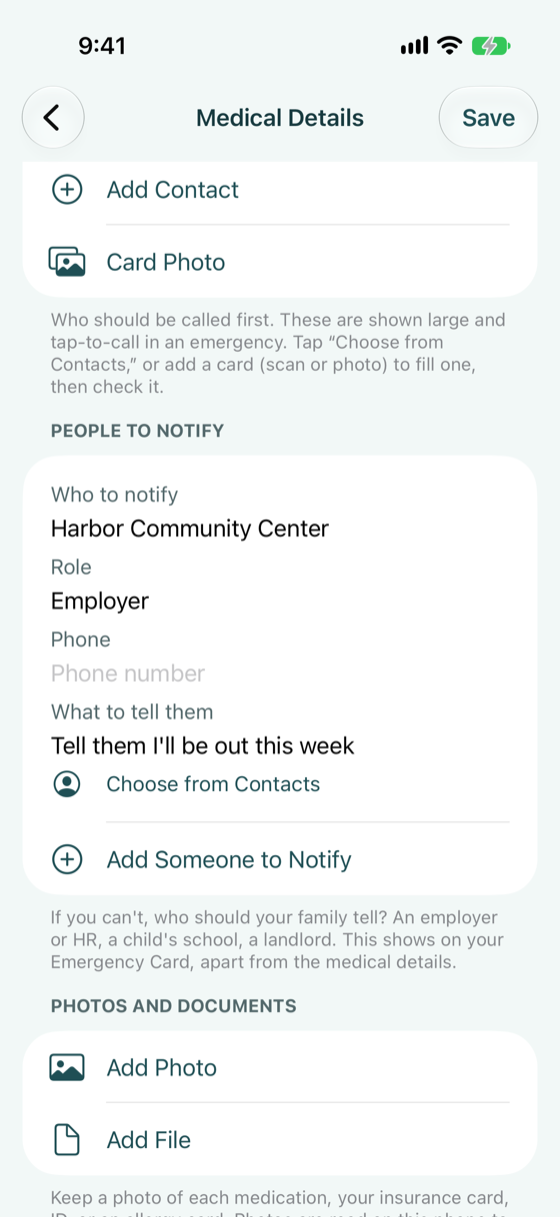
An employer to notify -
Photos, documents and other details
Photos and documents holds pictures for the whole profile: an allergy card, your insurance card, an ID. Under Other details, set organ donor status, preferred language, weight and height, and anything else staff should know. Then tap Save at the top.
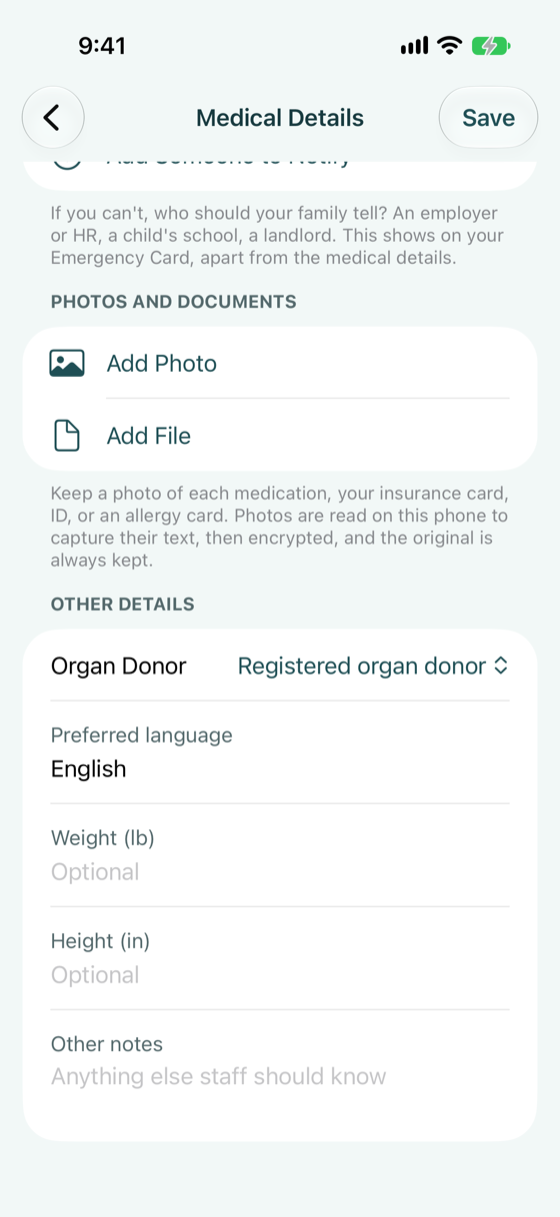
Organ donor and language -
Check the checklist
Back on the Setup Checklist, Medical Details, Emergency Contacts and Advance Directive & Proxy are now ticked.
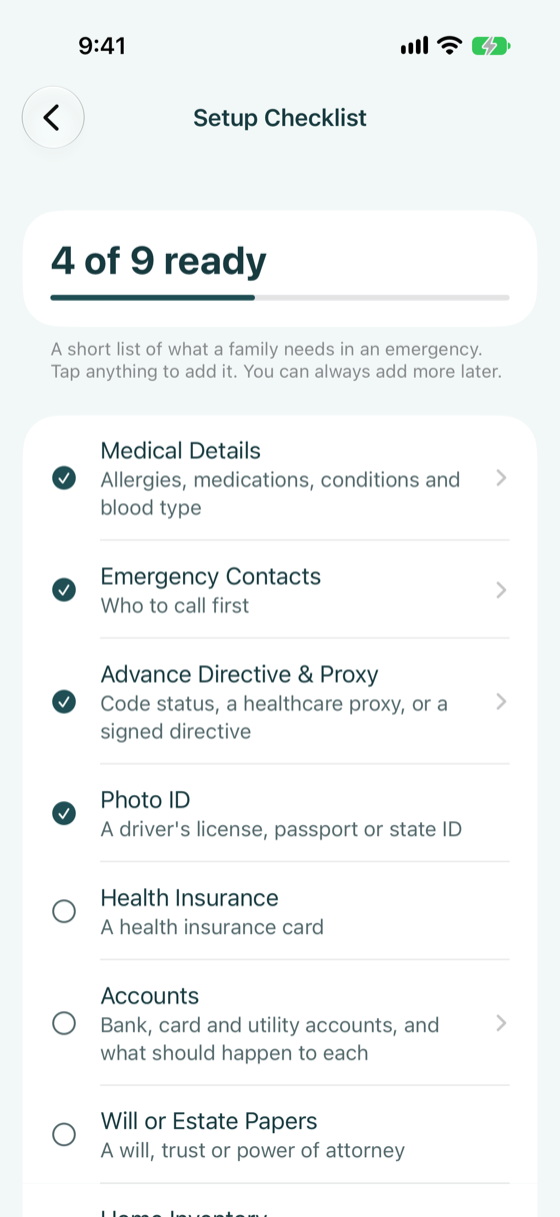
Four of nine ready
Section 7
Add insurance and legal papers
Two quick items from the checklist. The form is the same one you used for your ID, with fields that fit each kind of document.
-
Tap Health Insurance
Enter the provider, member ID, group number and the claims phone number from your card. Turn on Show on Emergency Card so a relative can read it at the hospital. Tap Save.
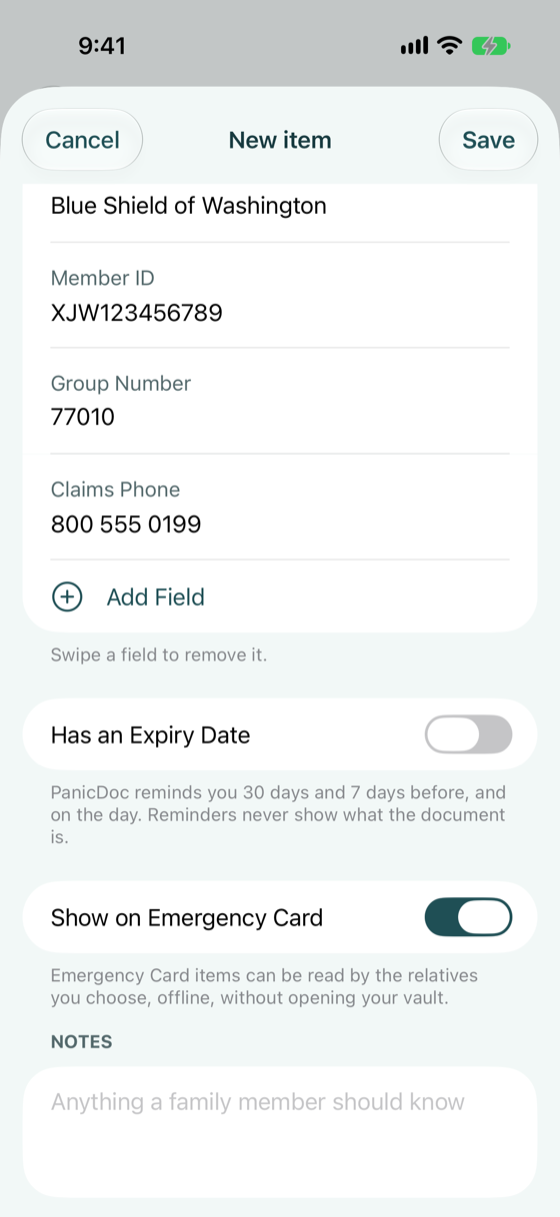
An insurance card entered -
Tap Will or Estate Papers
Enter the document type, where the original is kept, and your attorney's name and phone. Tap Save. PanicDoc records where the will is; it does not replace the executed original.
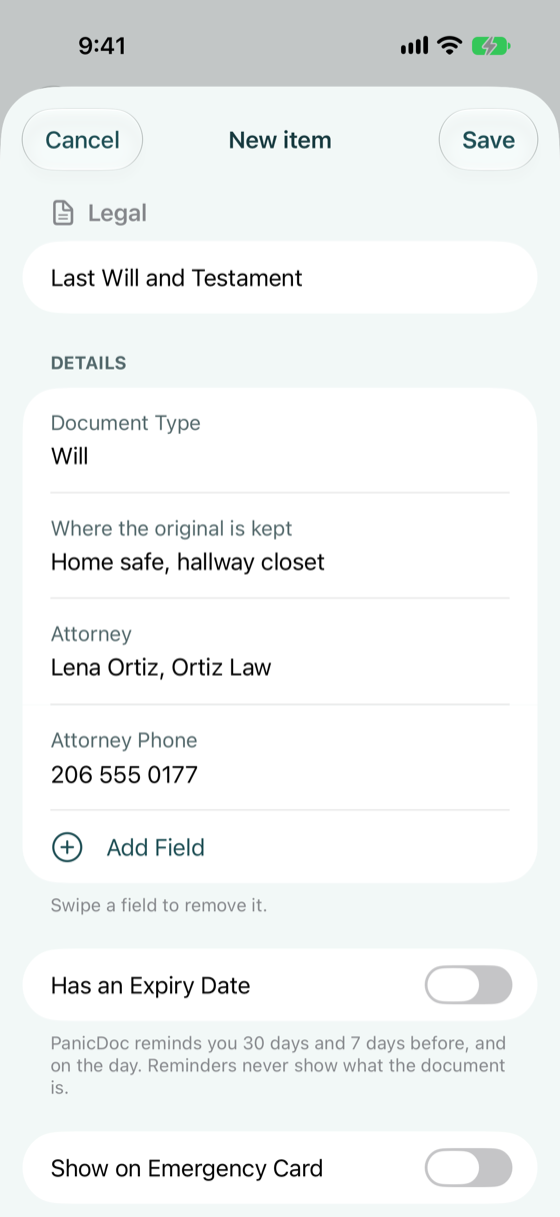
A will, with where it is kept -
Attach the actual document
To keep a scan or photo of the paper itself, open the item after saving and use Scan Document, Add Photo or Add File under Attachments. Scans are read on your phone so you can search their text, then encrypted.
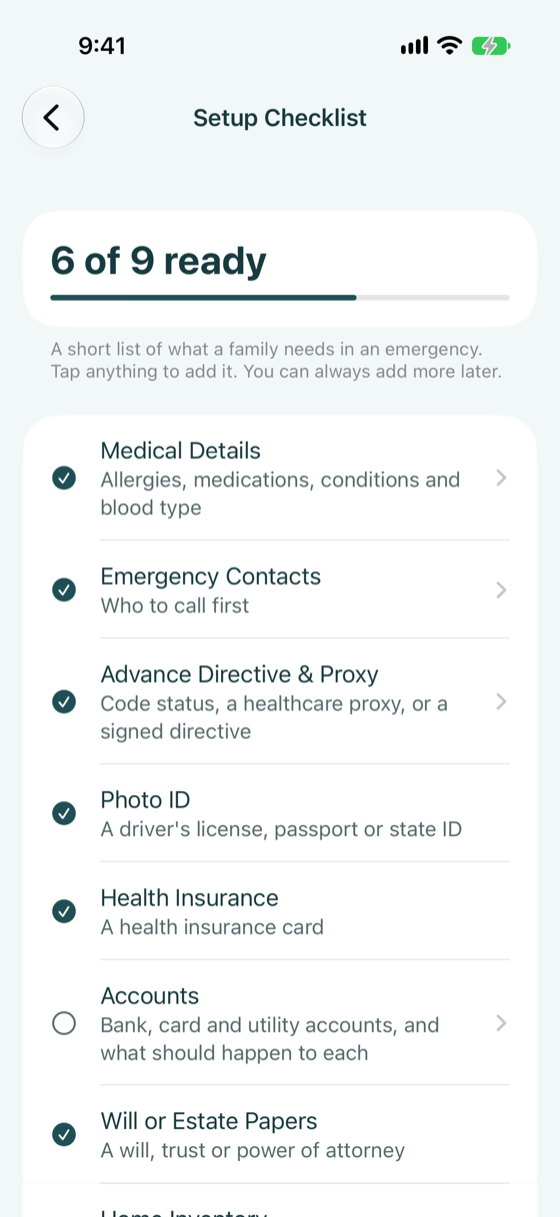
Six of nine ready
Section 8
Record your accounts
Accounts is a plain list of what should happen to each bank, card, utility and subscription account if you cannot act. It is deliberately not a password manager: last four digits only.
-
Tap Accounts on the checklist
The screen starts empty, with a short explanation of what to record.
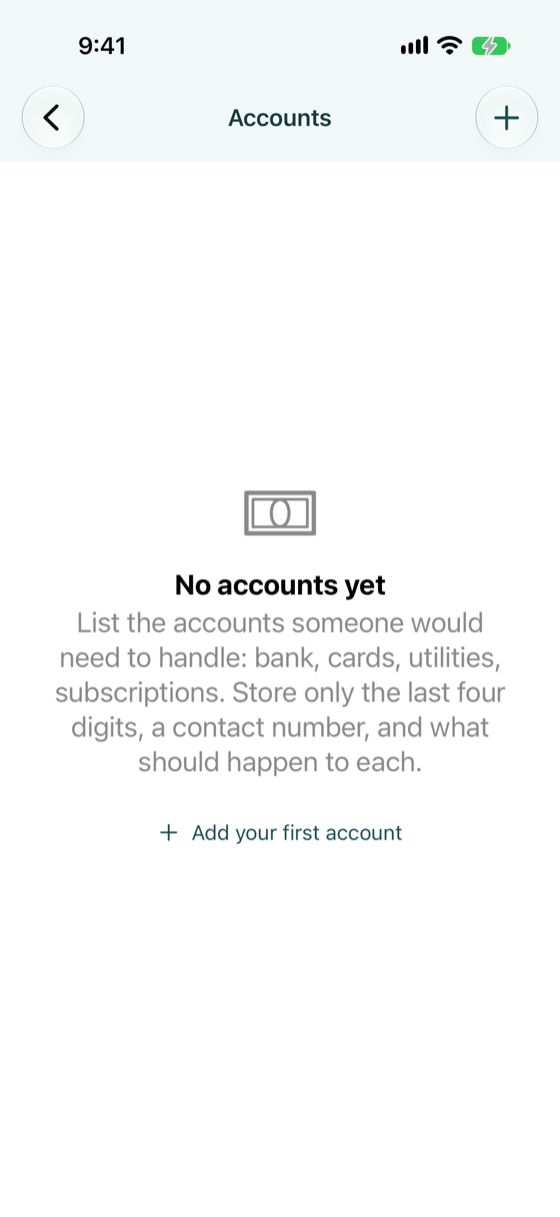
No accounts yet -
Tap Add your first account
You can add by hand, or from a photo of a statement, which PanicDoc reads on your phone to pre-fill the form. Tap Add by Hand.
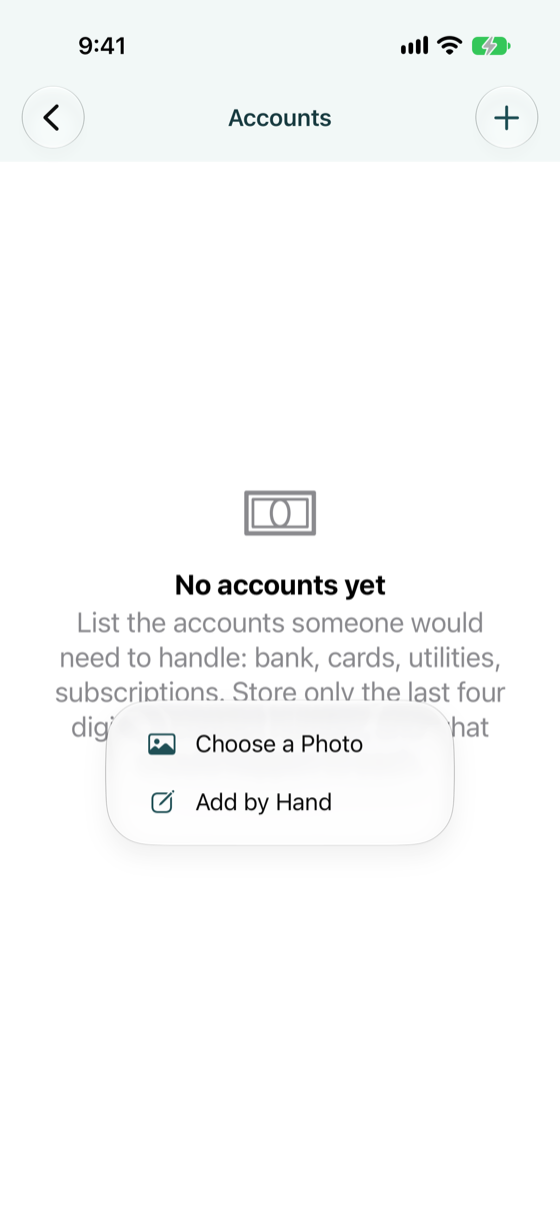
The add menu -
Fill in the account
Enter the institution, account type, last four digits, the contact phone, and the If Something Happens note: close it, transfer it, keep paying bills from it. Tap Save.
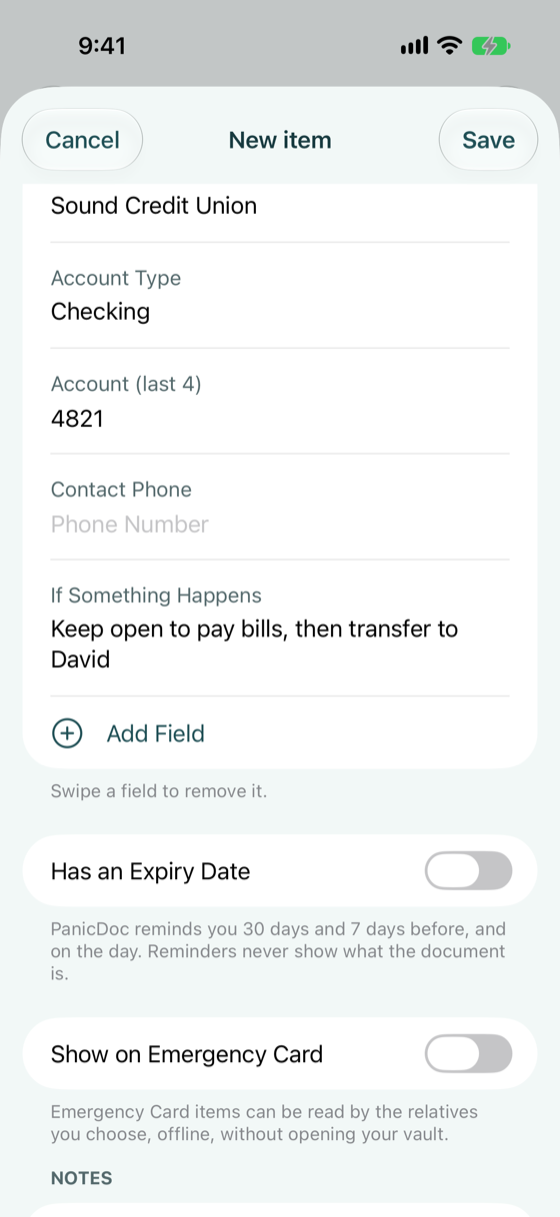
A checking account with instructions -
Review the list
Accounts are grouped by type, and the screen counts how many still have no instruction so you can finish them later.
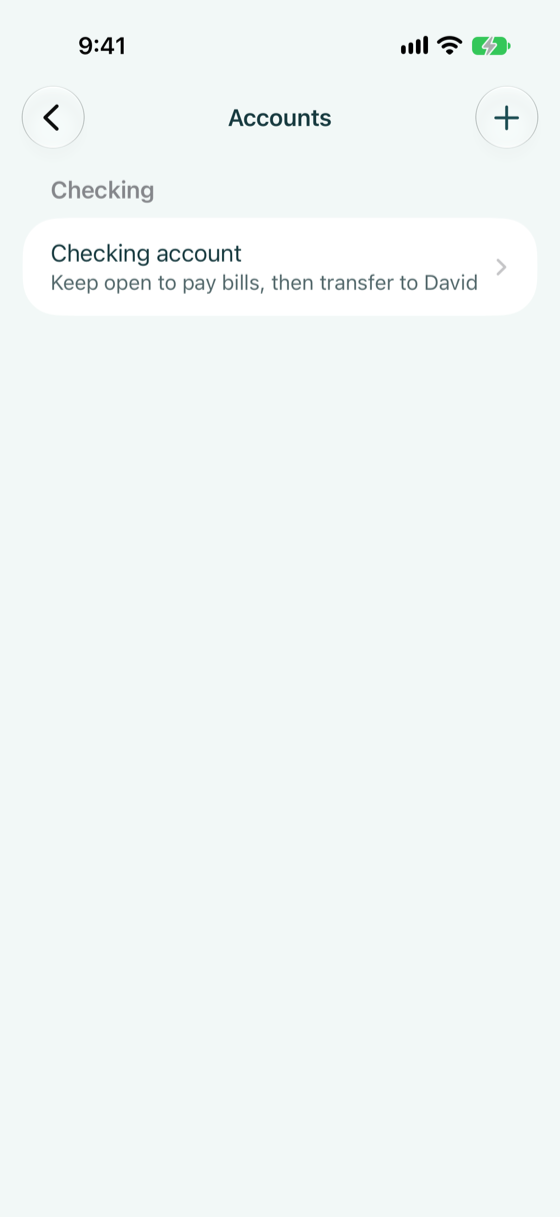
One account, with its instruction
Section 9
Build a home inventory
A room-by-room record of belongings for an insurance claim after a fire, flood or evacuation. Photos and receipts stay encrypted like everything else.
-
Tap Home Inventory on the checklist
The screen explains the idea: photograph what you would claim, room by room, and add a value and a receipt where you can.
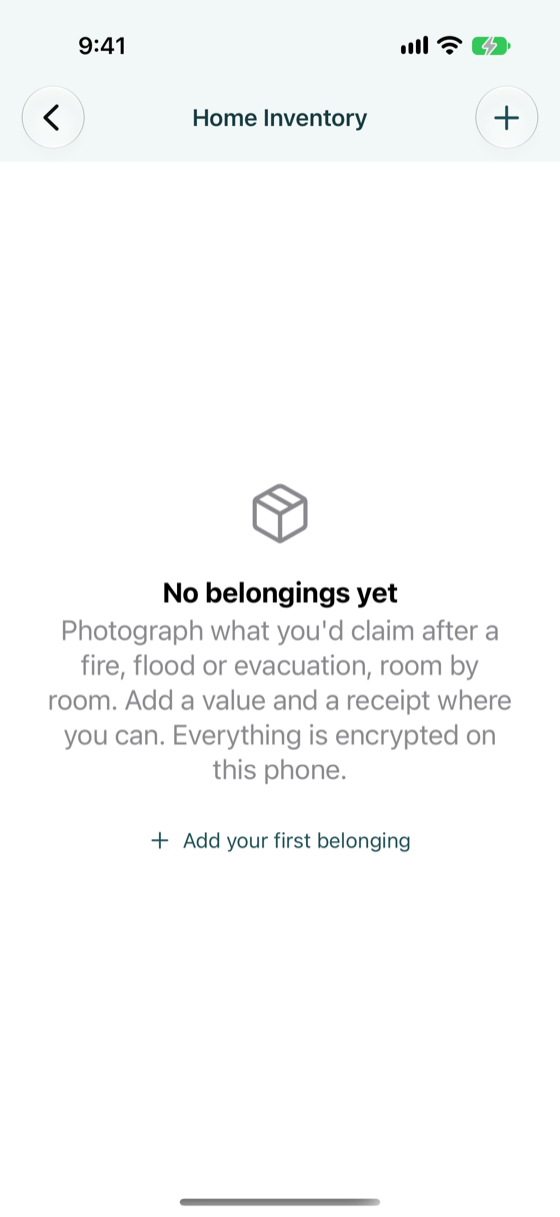
No belongings yet -
Tap Add your first belonging
On a phone, Take a Photo is the fastest route: photograph the item, then name and value it. You can also choose an existing photo or add by hand.
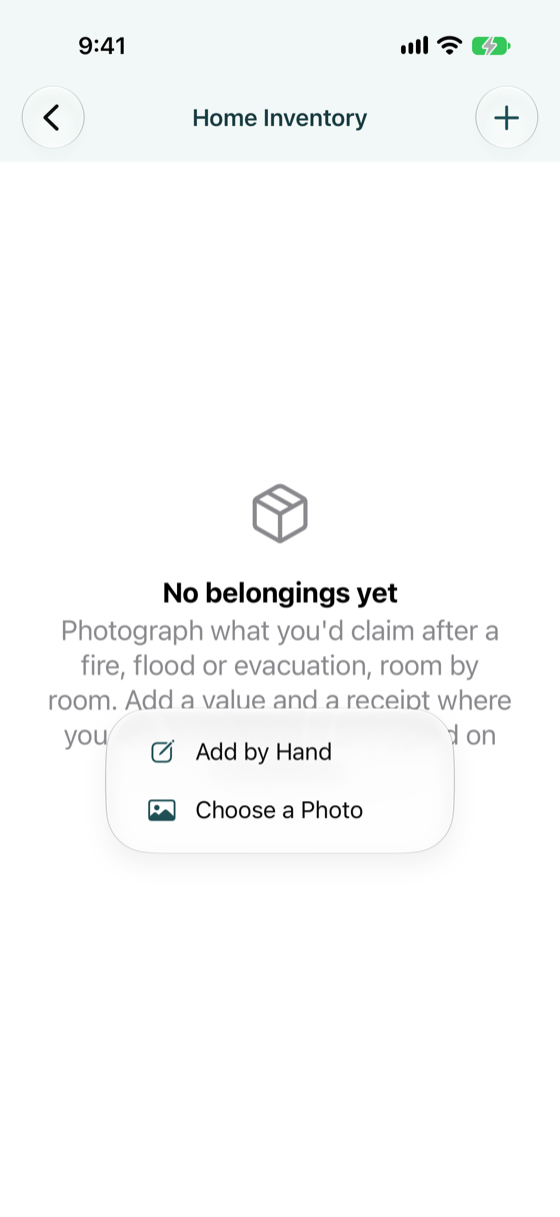
The add menu -
Name and value it
Enter the room, estimated value, brand or model, and serial number. Tap Save.
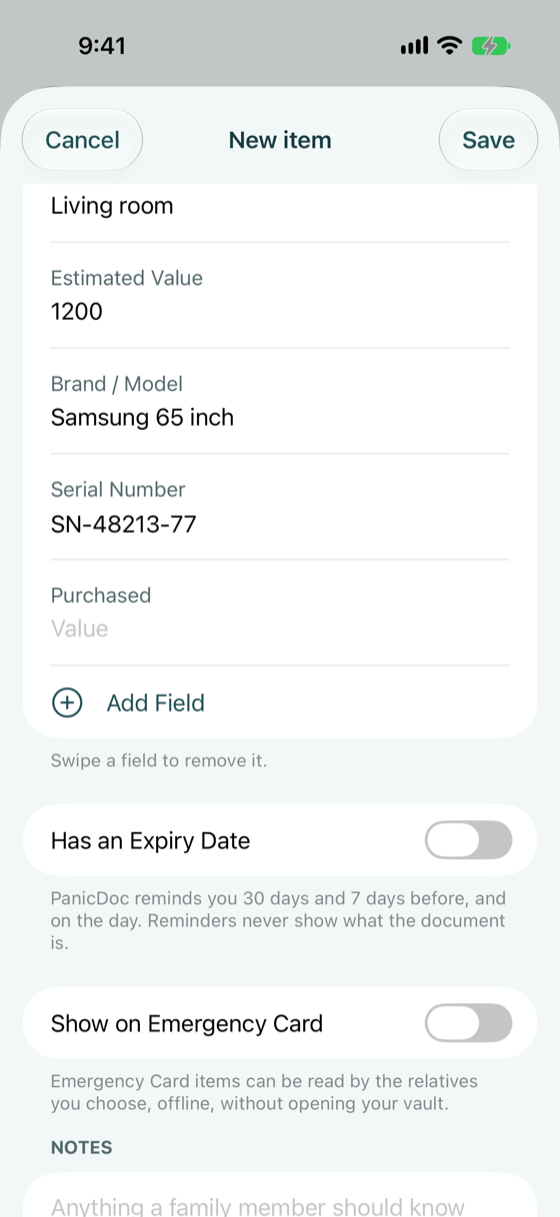
A television in the living room -
Watch the total grow
The inventory groups belongings by room and keeps a running estimated total. A claim-packet export is planned for a later release.
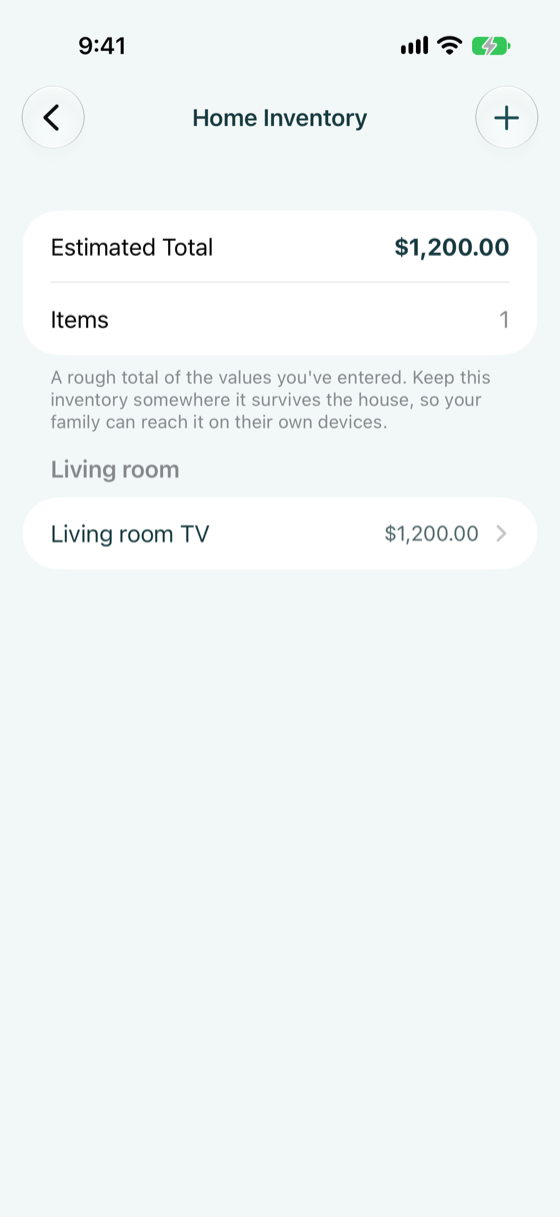
Grouped by room, with a total
Section 10
Set up Scam Defense
A shared safe word and a list of numbers you looked up yourself, so a panicked call from “your grandson” or “the bank” can be checked in seconds.
-
Tap Family Safe Word on the checklist
The Scam Defense screen has three parts: the safe word, verified callback numbers, and a checklist for a call from a relative in distress.
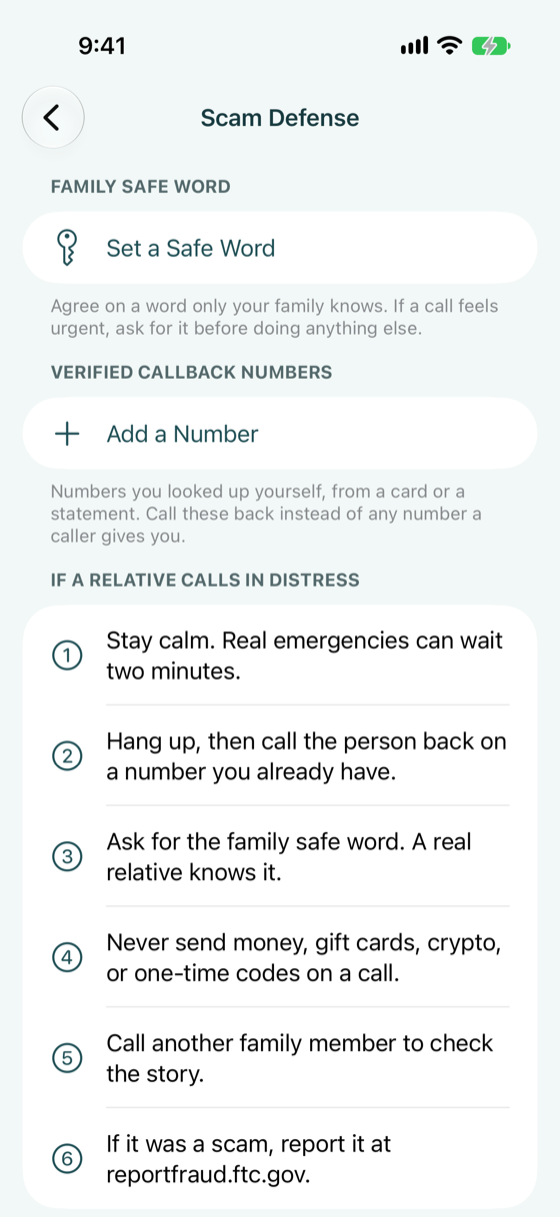
Scam Defense, before setup -
Tap Set a Safe Word
Pick something easy to remember and hard to guess, like a pet from years ago. Share it with family in person, never over a call. Tap Save.
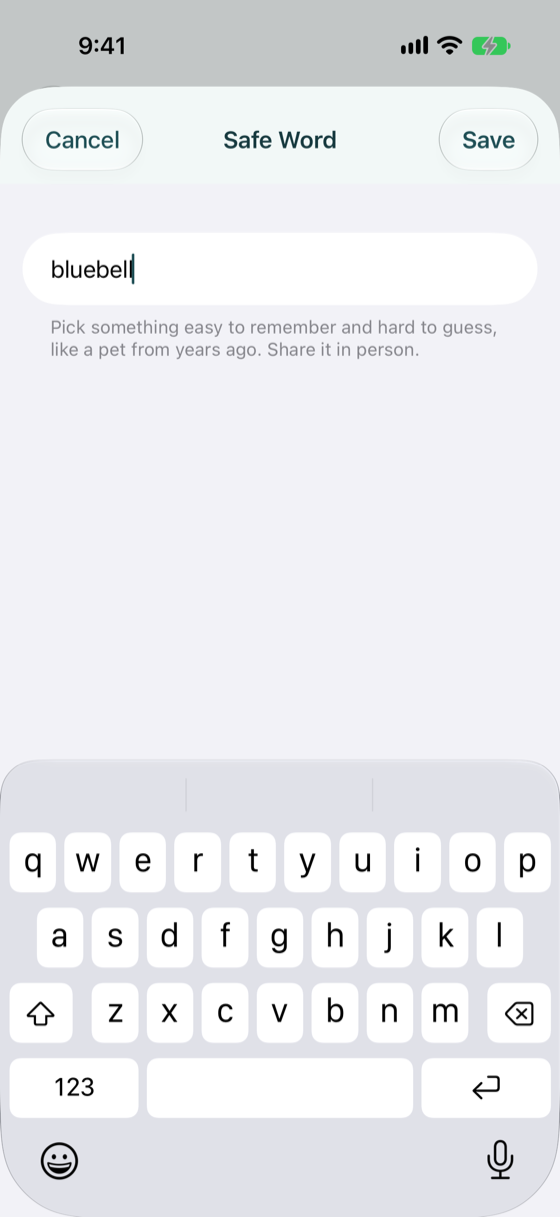
Entering the safe word -
The word stays hidden
The safe word is masked on screen until you tap it, so it is not exposed if someone glances at your phone.
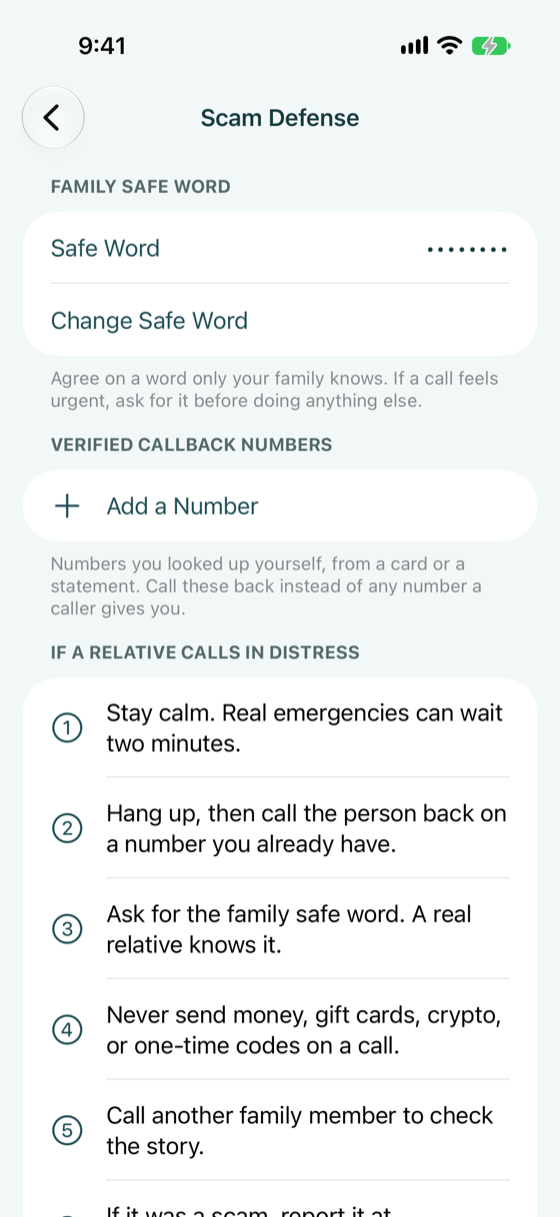
Safe word set and hidden -
Tap Add a Number
Record a verified callback number, for example the fraud line printed on the back of your debit card. Call these back instead of any number a caller gives you. Tap Save.
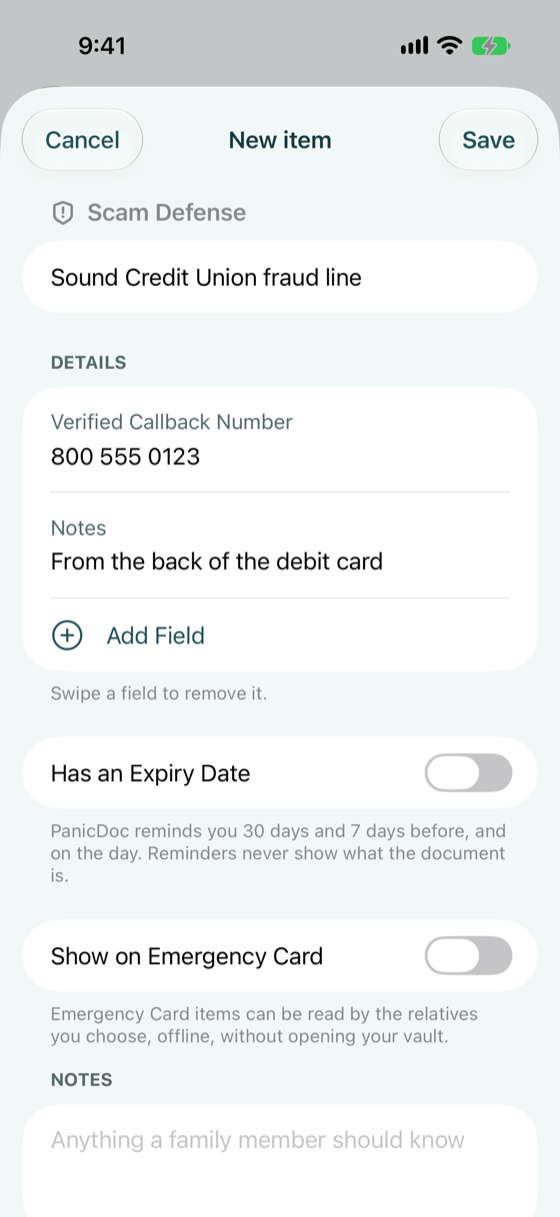
A bank's fraud line -
Read the distress-call checklist
The bottom of the screen lists what to do if a relative calls in distress: stay calm, hang up and call back on a number you already have, ask for the safe word, never send money or codes on a call.
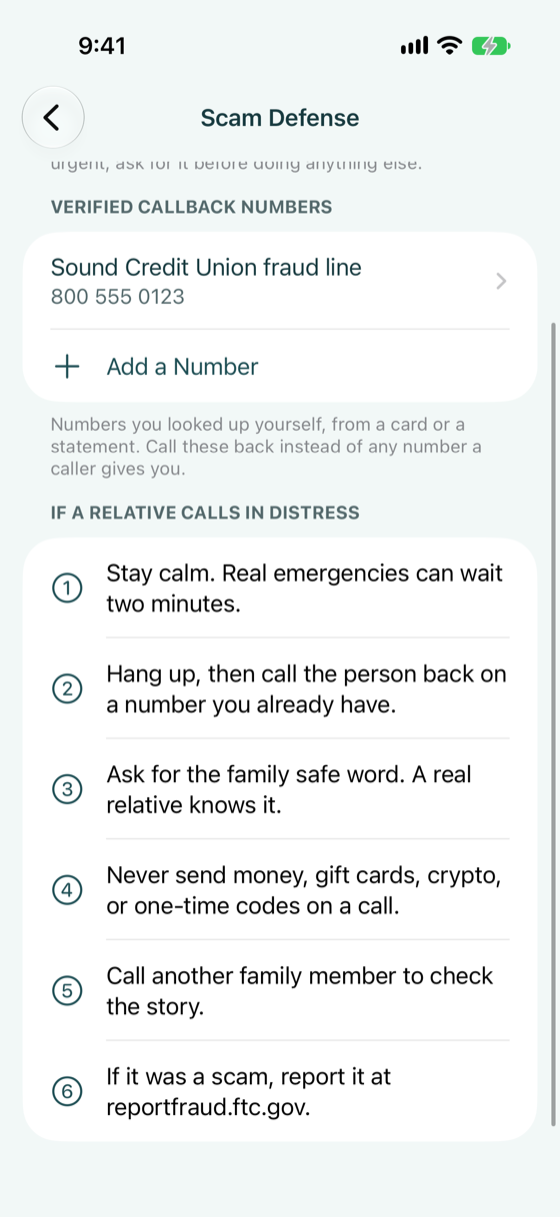
The distress-call checklist -
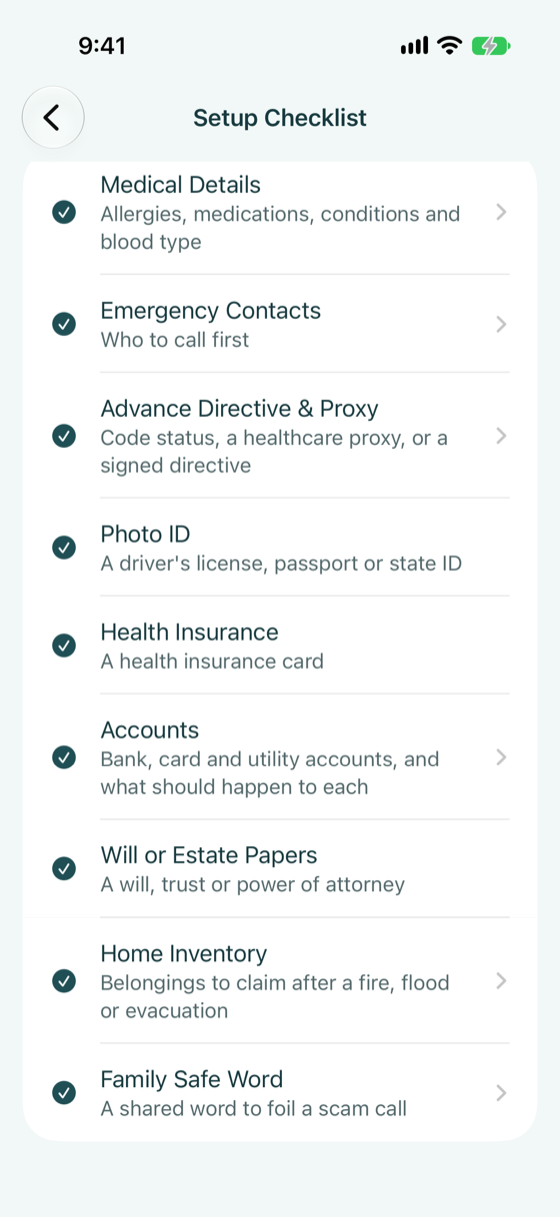
Back on the Setup Checklist, all nine are ready
With the safe word set, every row on the checklist is ticked. Come back to it whenever something changes; it will show what is missing.
All nine ready
Section 11
Dependents, details and search
With the checklist done, a few more screens are worth knowing: who cares for your dependents and pets, how to view and edit an item, and search.
-
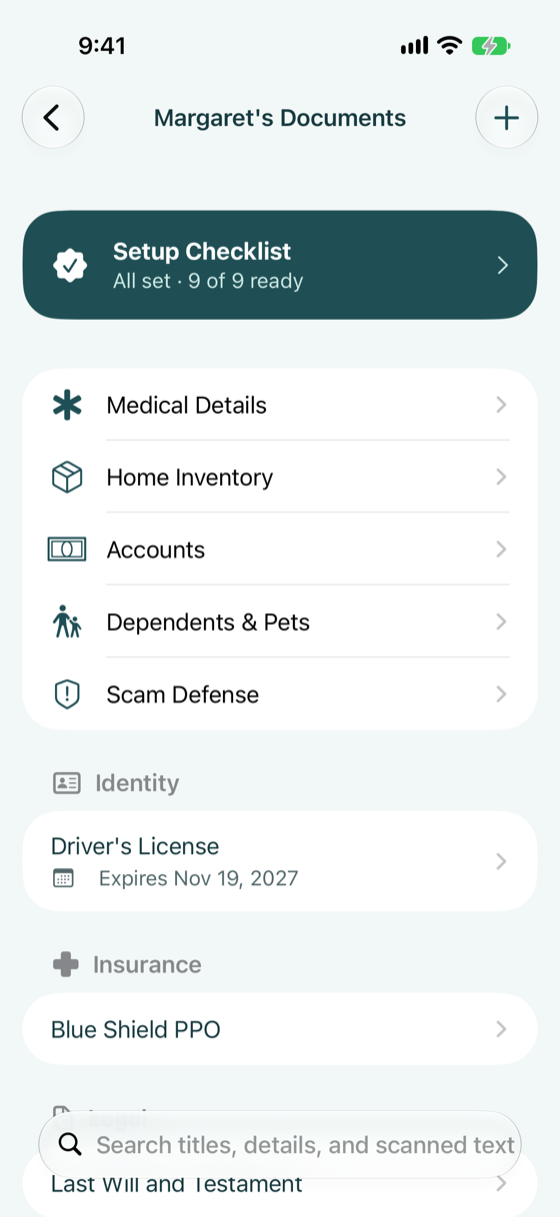
Your vault, populated
The checklist card now reads All set. The shortcuts below it open Medical Details, Home Inventory, Accounts, Dependents & Pets and Scam Defense. Your documents are listed by category underneath.
The vault after setup -
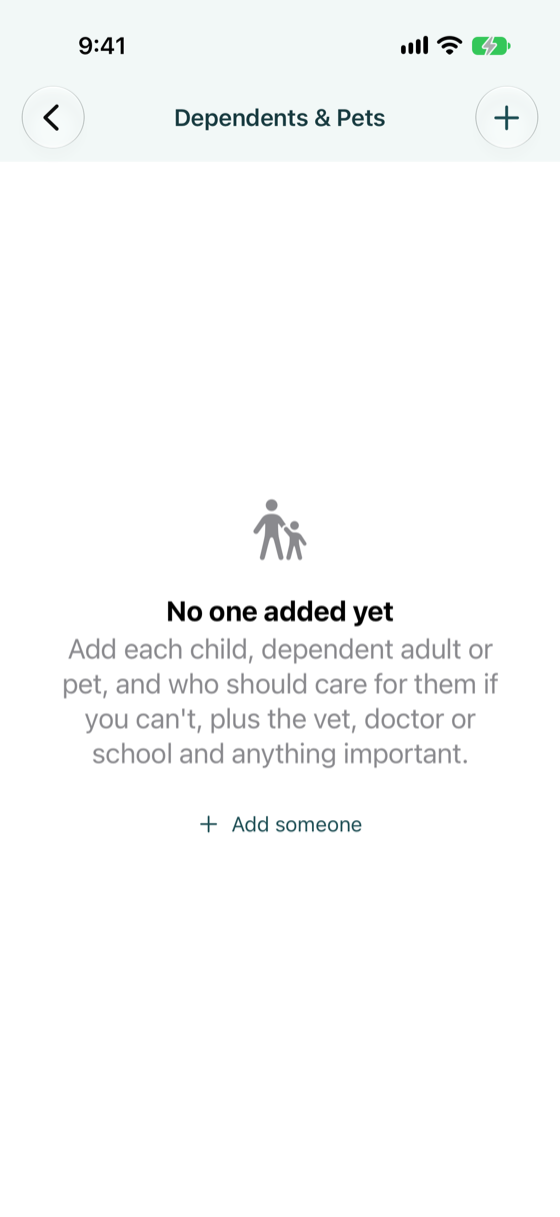
Tap Dependents & Pets
Tap Add someone, then Add by Hand. Record who cares for them if you cannot, the caregiver's phone, their vet, doctor or school, and any important notes such as medications or a microchip number. Tap Save.
No one added yet 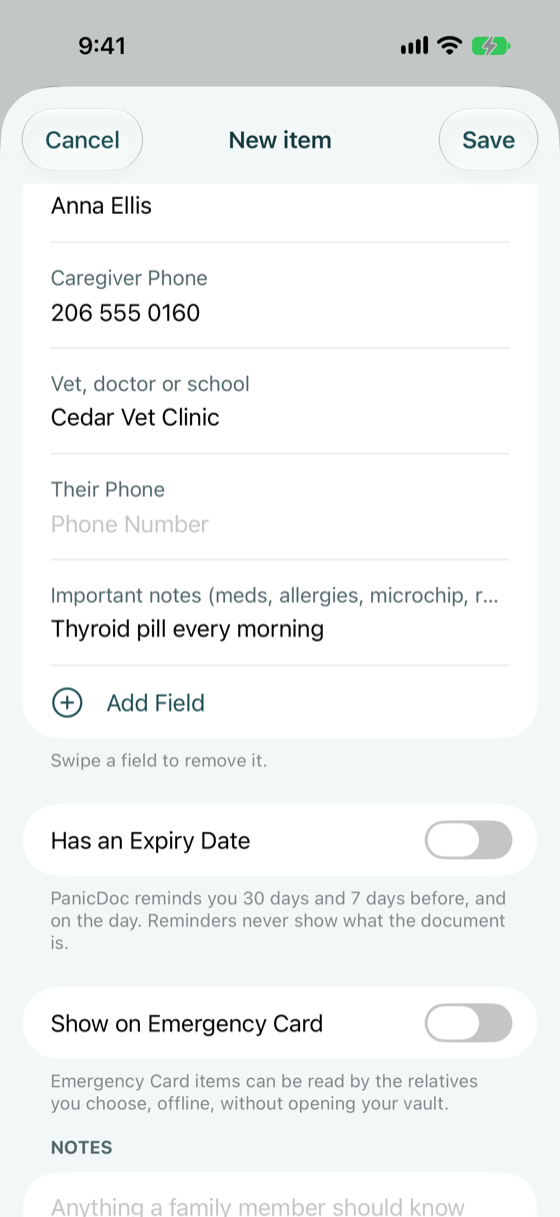
A dog and his caregiver 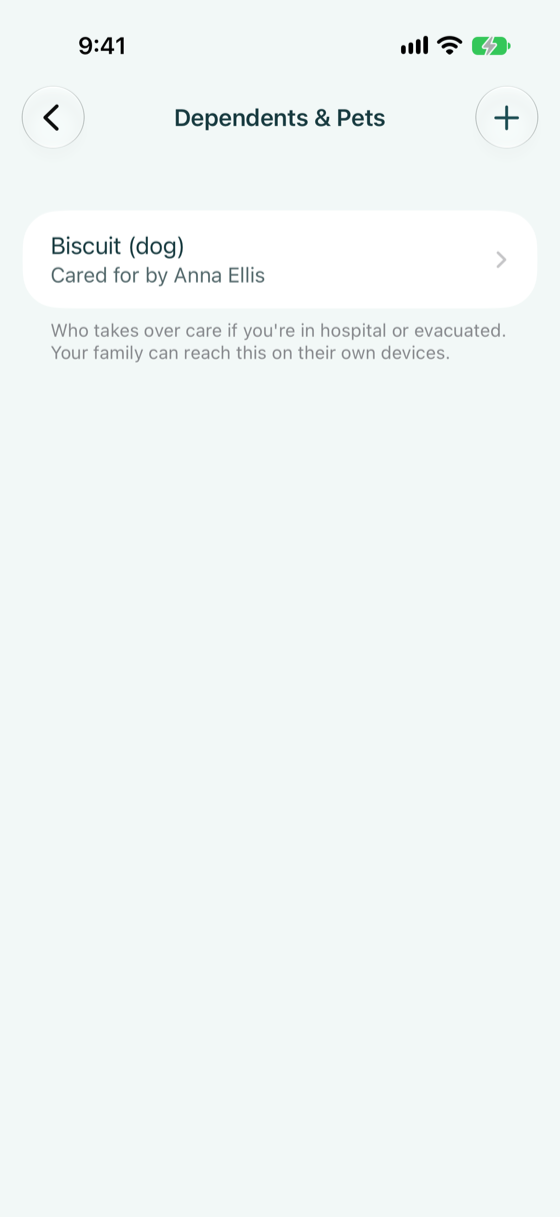
The dependents list -
View and edit an item
Tap any document to open it. Sensitive fields such as a document number stay hidden until you tap them. Attachments are added here. The ⋯ button offers Edit and Delete.
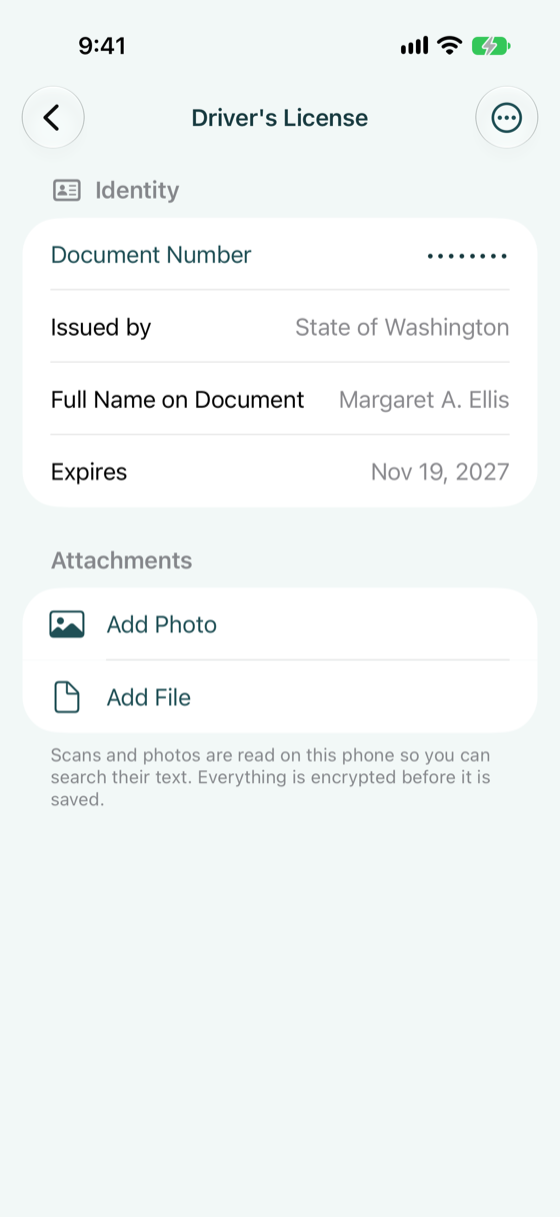
The driver's license 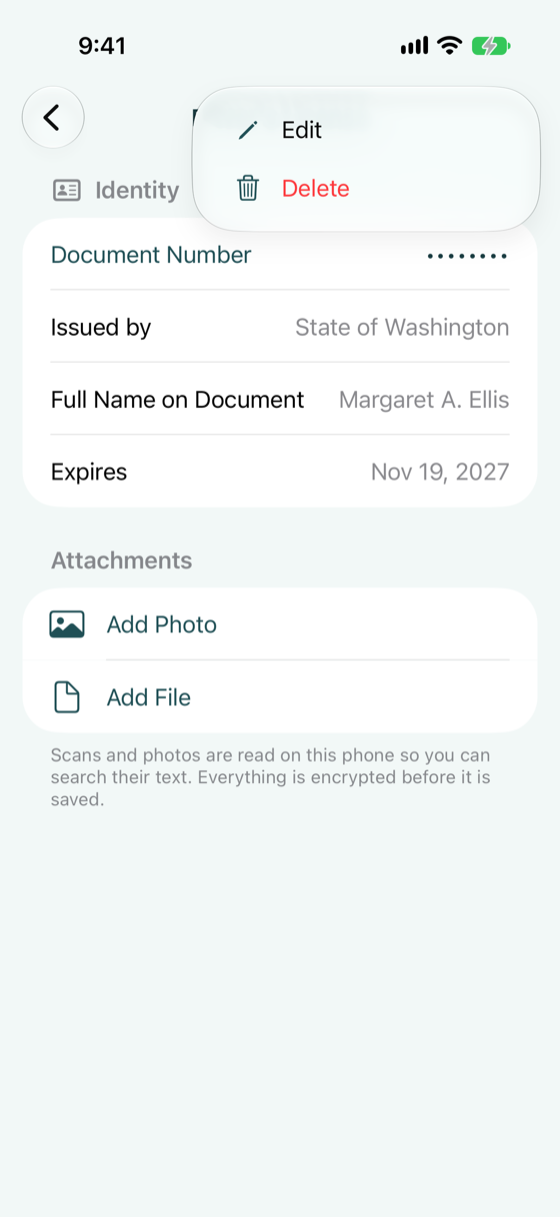
Edit or delete 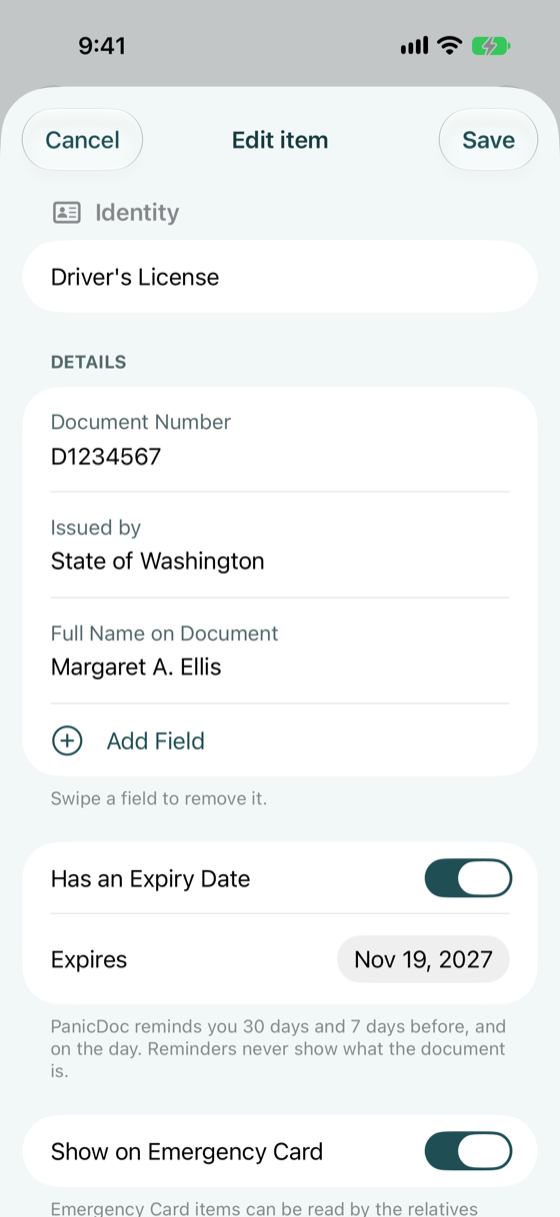
Editing the item -
Search
The search field at the bottom of the vault finds items by title, by details, and by the text inside scanned documents.
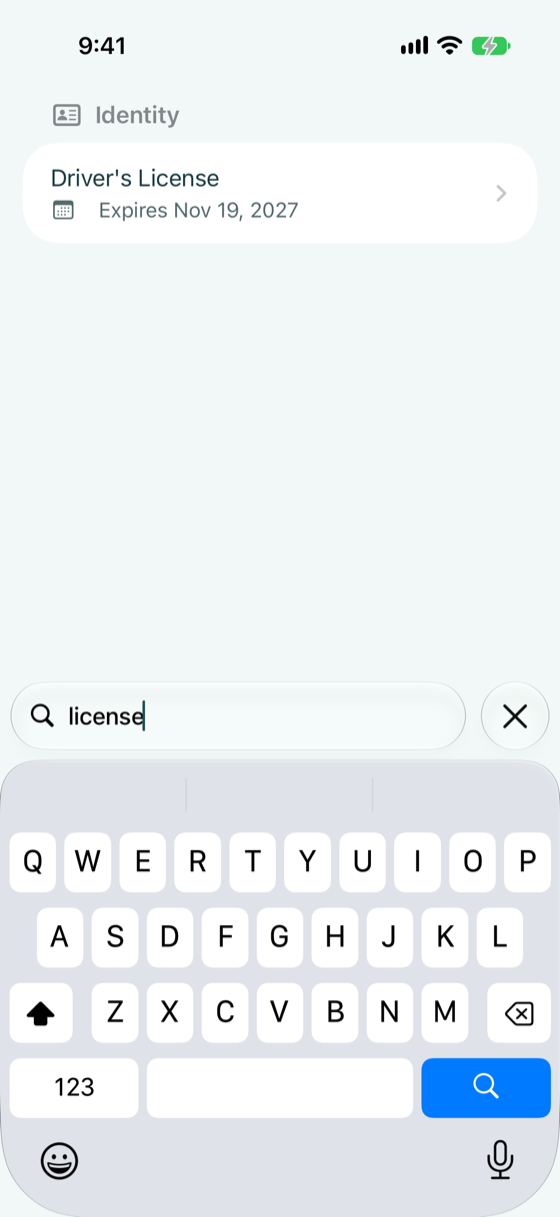
Searching for “license”
Section 12
Check your Emergency Card
The Emergency Card is the small set of things a paramedic or relative needs fast. Emergency Mode shows it full screen, in large type, so you can hand your phone to a stranger.
-
Tap Emergency Card on the home screen
It shows your Medical Details, the items you marked Show on Emergency Card, and who can see it.
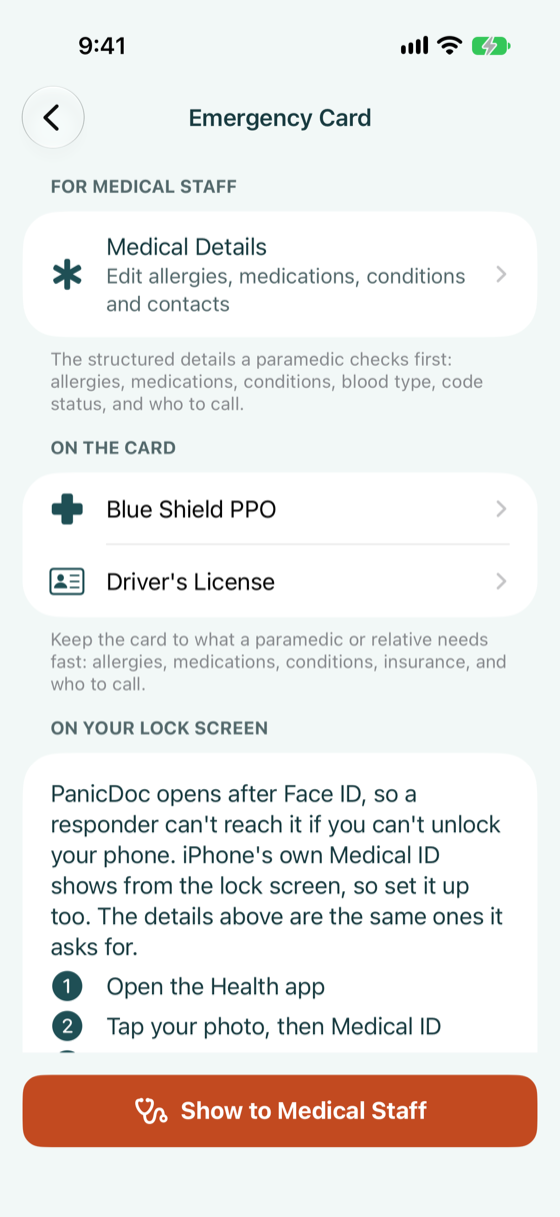
The Emergency Card -
Also set up Apple's Medical ID
PanicDoc opens after Face ID, so a responder cannot reach it if you cannot unlock your phone. iPhone's own Medical ID shows from the lock screen, so set it up too. The steps are listed on screen, and the details are the same ones you just entered.
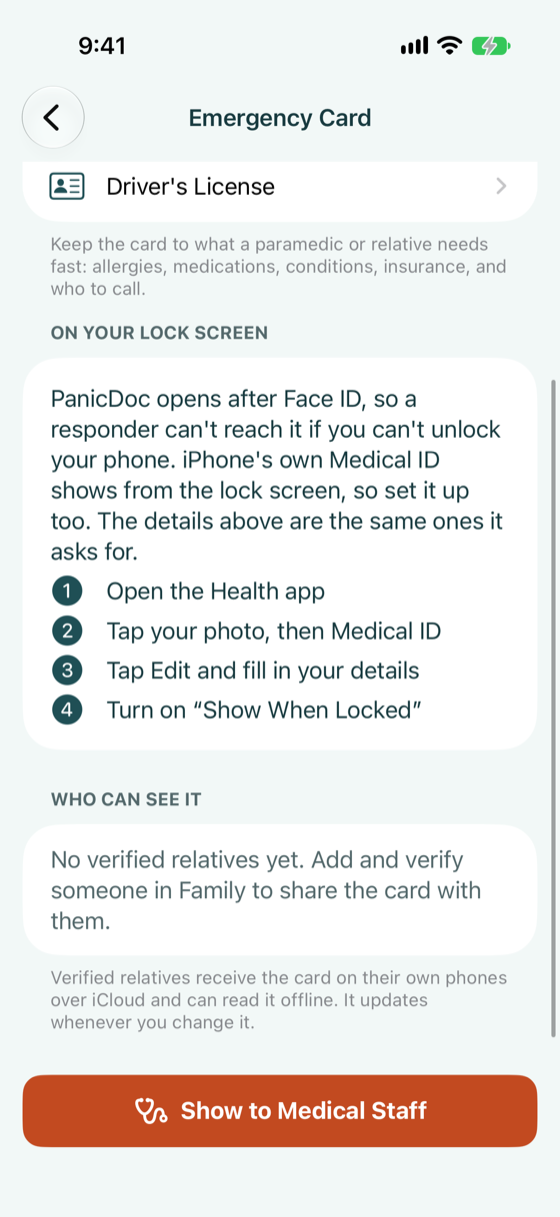
Medical ID reminder -
Tap Show to Medical Staff
Emergency Mode lists your code status, allergies, medications, conditions, healthcare proxy, care team, emergency contacts and people to notify, ordered the way a responder reads them. The screen stays awake, and leaving it requires Face ID.
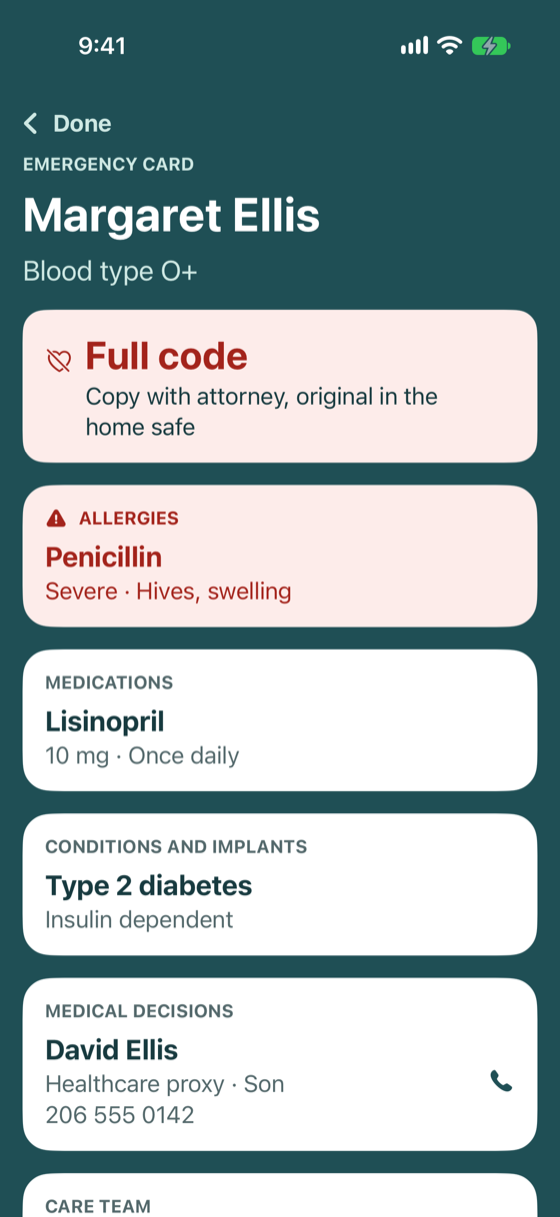
Emergency Mode 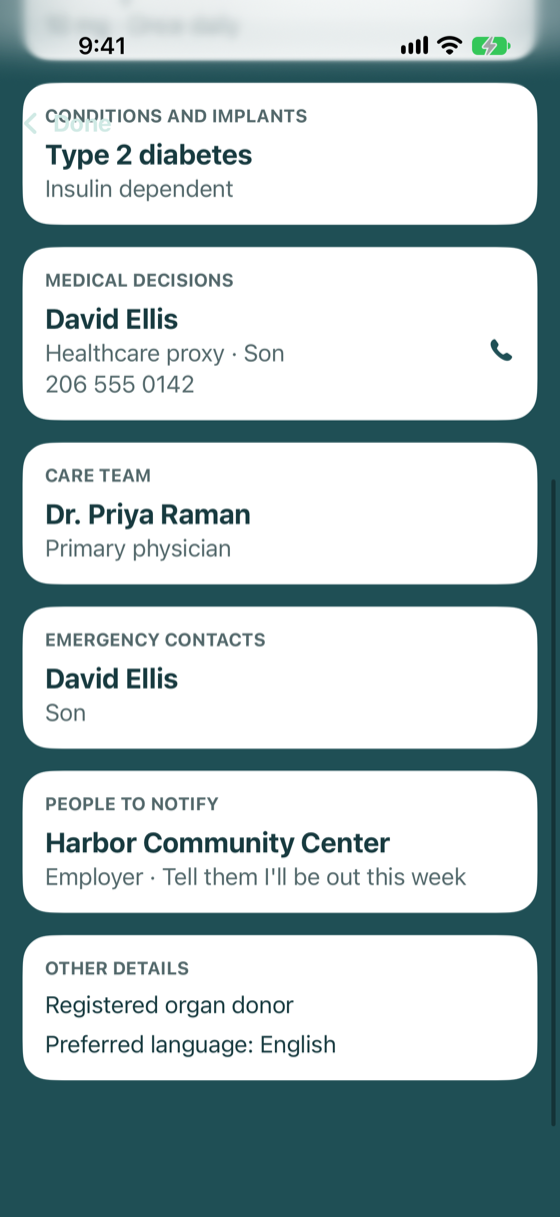
Decisions, care team, contacts
Section 13
Invite family and set up recovery
Family members hold a share of your recovery key (guardians) or can read your Emergency Card (viewers). Nobody, including PanicDoc, can read your vault on their own.
-
Tap Family on the home screen
Your family circle starts empty. People are added by invitation, then verified with a safety code.
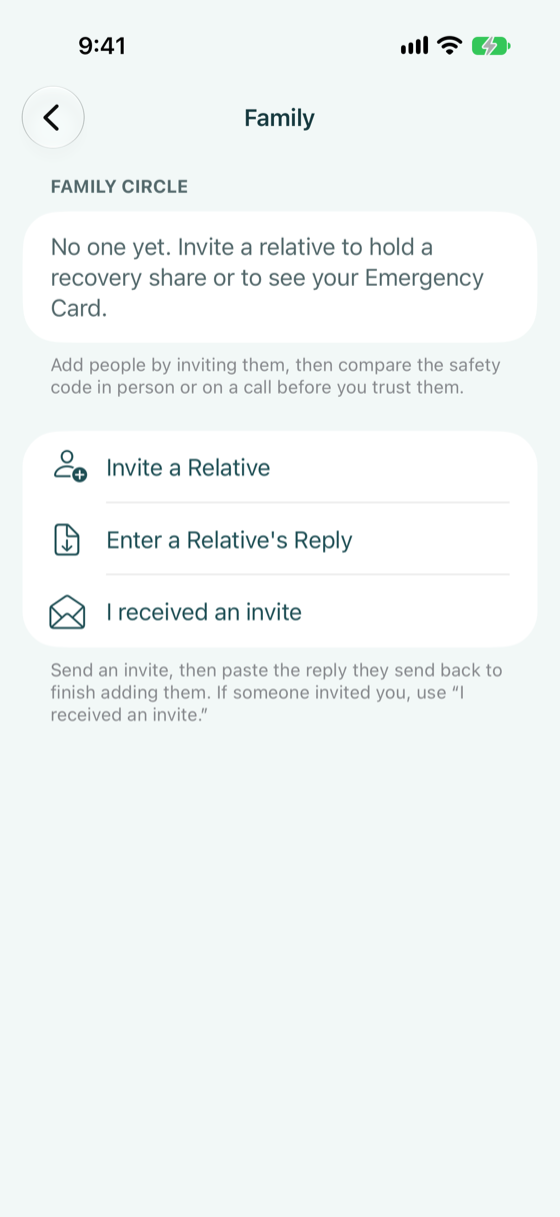
Family, before invites -
Tap Invite a Relative
Choose a role. A Guardian helps you recover the vault later but cannot read it alone. An Emergency Card viewer can see the items you share, offline.
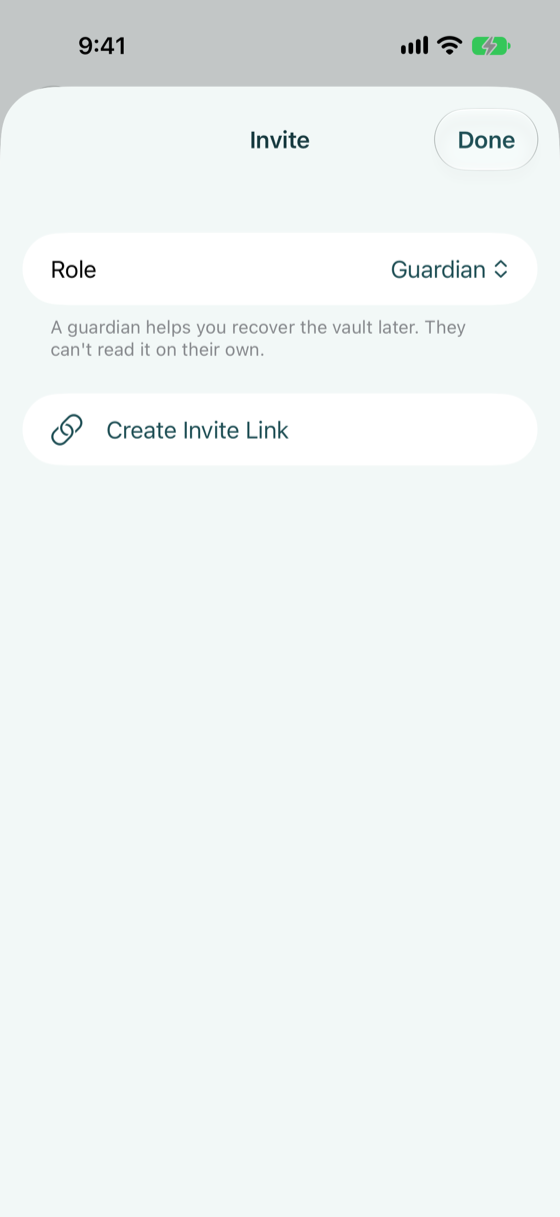
Choosing a role -
Tap Create Invite Link, then Share Invite Link
Send the link by Messages, email or AirDrop. It contains no documents, only what your relative's phone needs to introduce itself to yours.
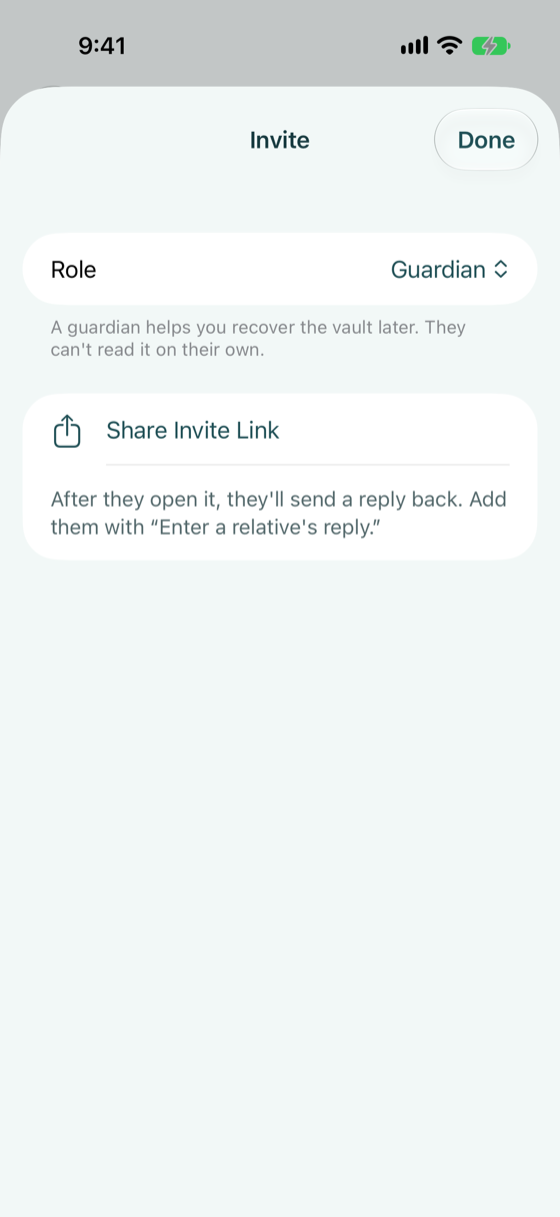
Ready to share -
Your relative accepts
On their phone, they open PanicDoc, tap I received an invite, paste the link, and tap Accept and Create Reply. They send the reply link back to you.
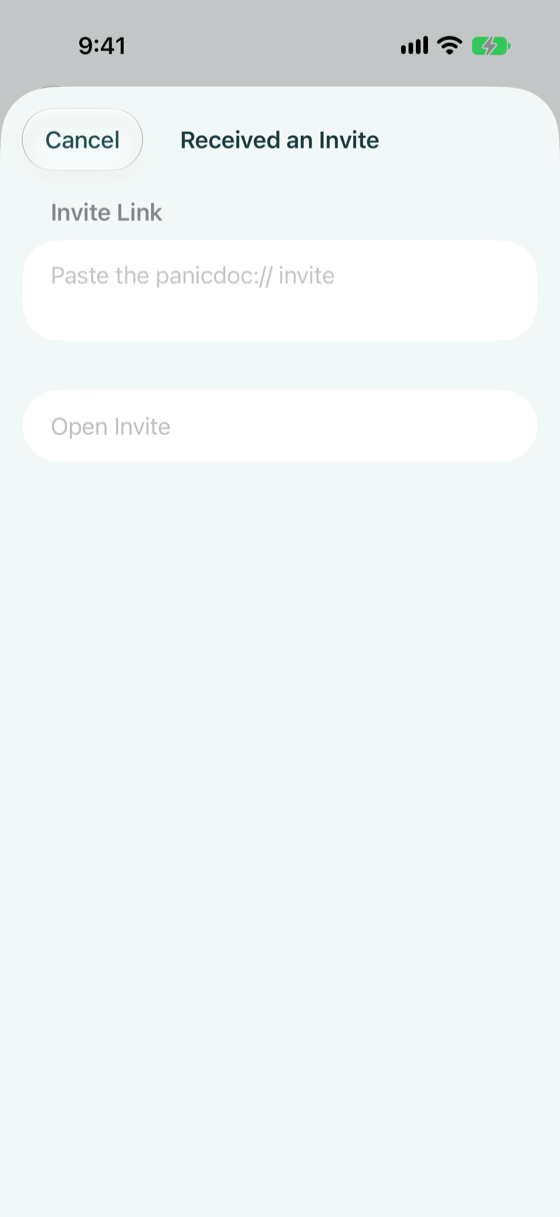
The relative's side -
Tap Enter a Relative’s Reply
Paste their reply, confirm the role, and tap Add Relative. Then tap their name in Family and compare the safety code on a call or in person. If you both see the same numbers, tap Mark verified.
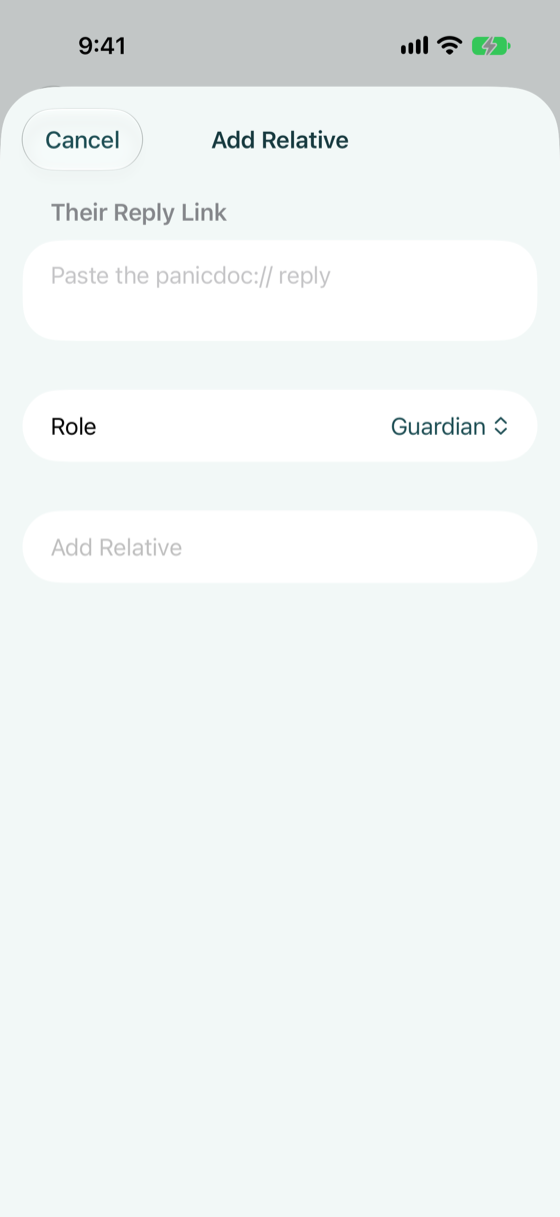
Adding the relative -
Tap Recovery on the home screen
Once you have at least two verified guardians, choose them, pick how many are needed (any 2 of 3, for example), and optionally print a recovery sheet to keep with your will. Tap Set Up Recovery. No single guardian, and no server, can open the vault alone. The same screen lists recovery requests you can act on: approve a relative’s recovery as their guardian, or cancel one on your own vault that you did not ask for.
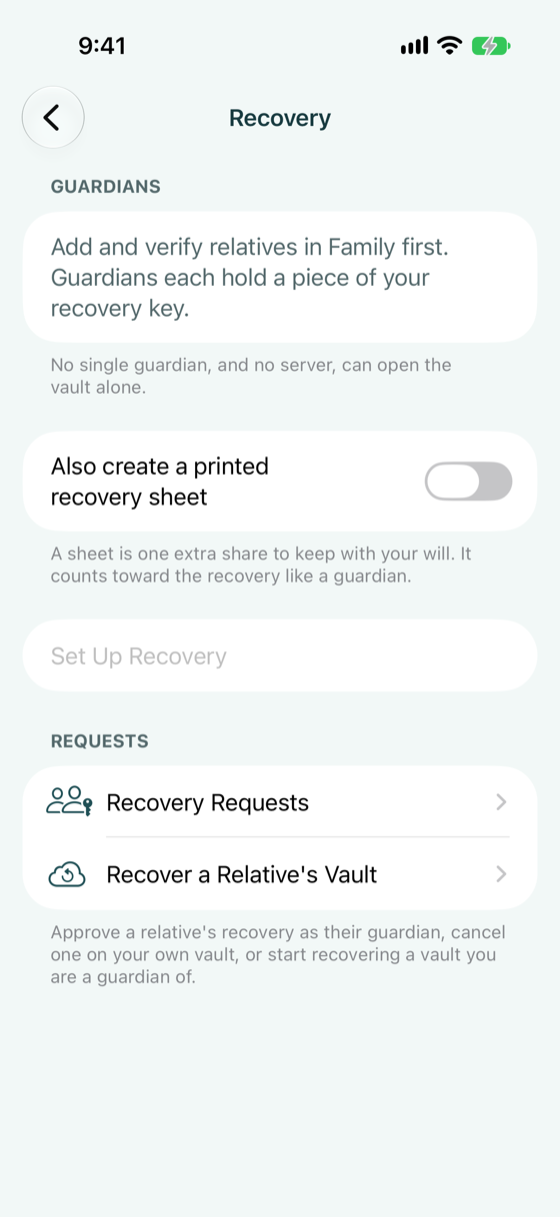
Recovery, before guardians are verified
Section 14
Your other devices, and a lost phone
Your vault can live on more than one of your own devices, and it can be rebuilt on a new phone if this one is lost. Both go through your iCloud account, which only ever holds encrypted copies; the keys pass from one of your devices to another.
-
Tap Devices on the home screen
It lists the phones and iPads that hold your vault. Remove one you no longer use: the vault’s keys change so that device cannot open anything new.
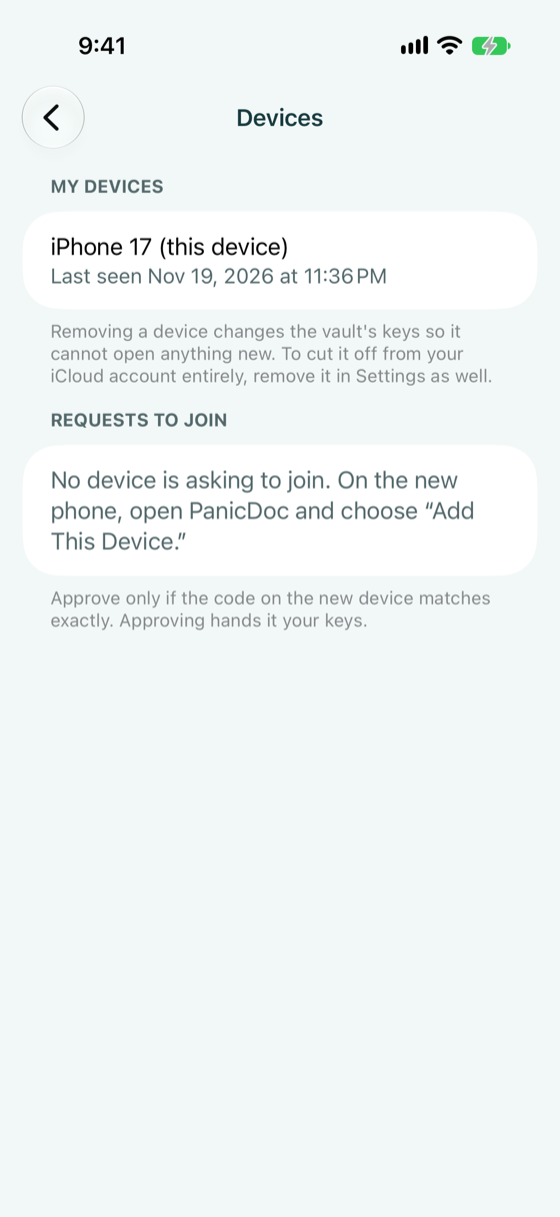
Devices that hold the vault -
Add a new iPhone or iPad
On the new device, signed in to the same iCloud account, open PanicDoc and tap Add This Device to My Vault, then Ask to Join. It shows a short code. On a device that already has the vault, open Devices, check that the same code is shown, and tap The Codes Match. Approve. Face ID confirms it, and the vault appears on the new device.
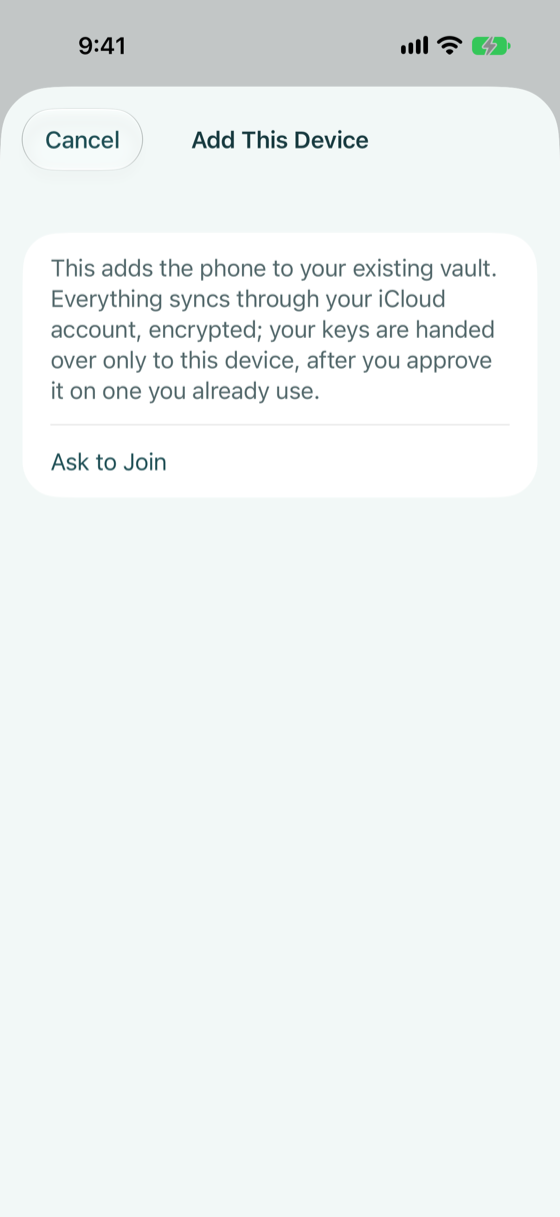
Adding a device, from the welcome screen -
Lost your phone?
On the new phone, scroll down the welcome screen and tap Recover an Existing Vault. PanicDoc finds your vault’s encrypted backup in iCloud and asks your guardians to approve. After the one-day waiting period, tap Complete Recovery. If you kept a printed recovery sheet, its code counts as one guardian. A guardian can start the same recovery for a relative’s vault from Recovery.
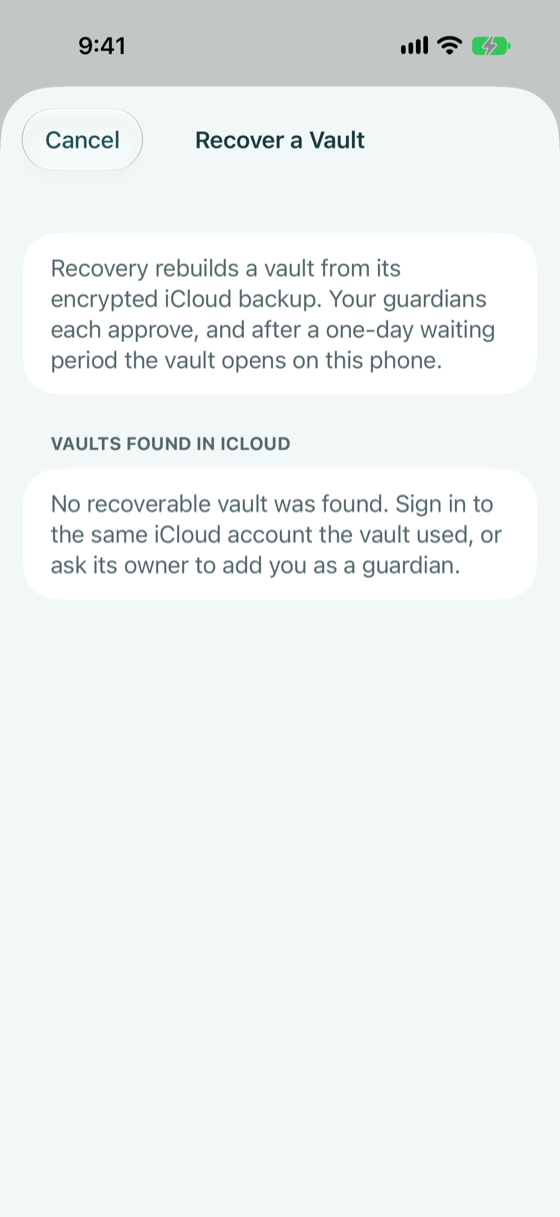
Recovering a vault on a new phone
Section 15
Choose a plan
The free plan holds 10 items in one vault. Household removes the limit and adds a joint vault, quorum recovery with encrypted iCloud backup, and several vaults.
-
Tap Free plan on the home screen
The Household screen lists what is included and the price, with a 14-day free trial. One purchase covers your household through Family Sharing; guardians and Emergency Card viewers never pay. Restore Purchases brings back a plan bought on another device.
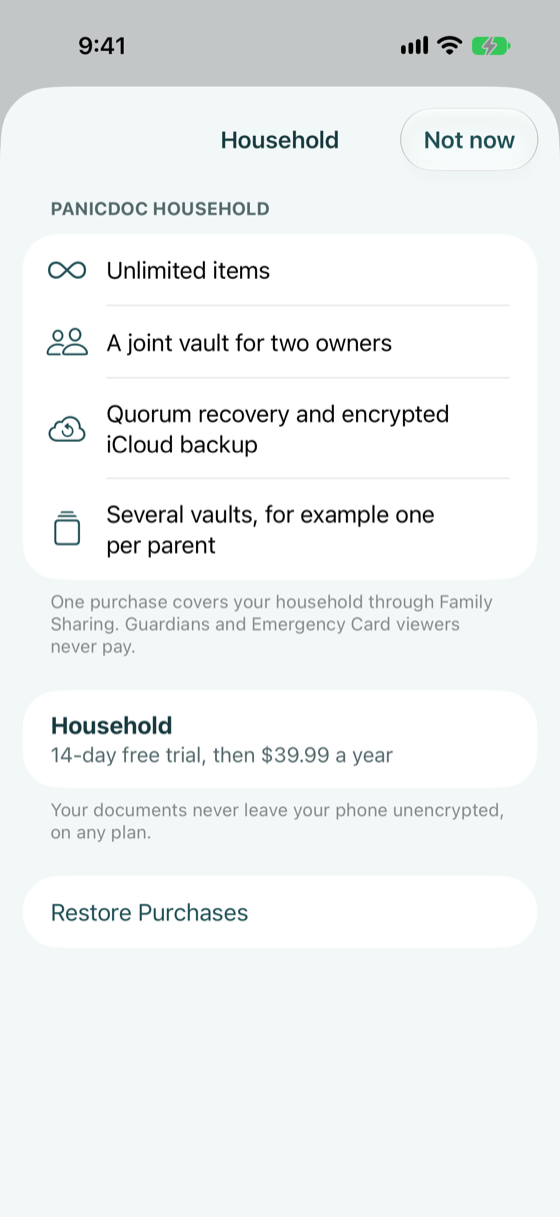
The Household plan
That's the whole setup.
Come back whenever something changes: a new medication, a renewed license, a new account. The Setup Checklist will tell you what is still missing.